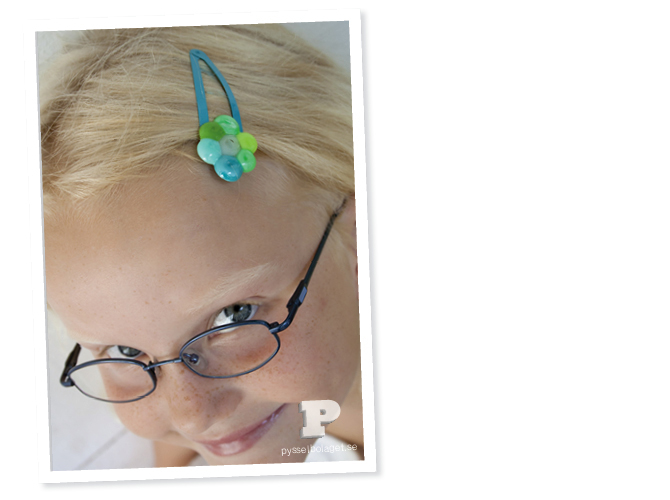
Att smälta pärlor i ugnen är något av det roligaste vi gjort på länge. Inspirerade av bloggen The Artful Parent testar vi med andra pärlor. Häng med!
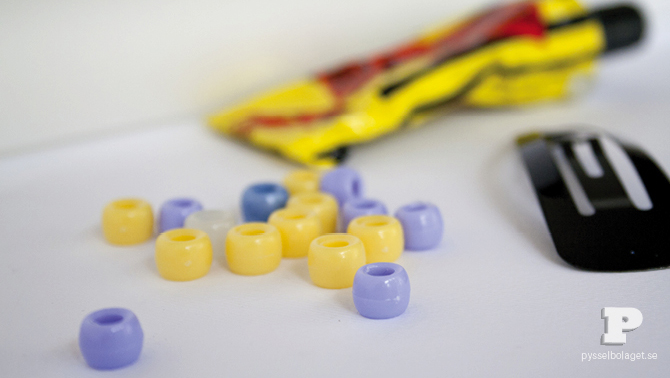
Ni behöver stora plastpärlor, typ kongopärlor och bakplåtspapper. Vi har också använt hårspännen och klister att fästa våra färdiga blommor på.
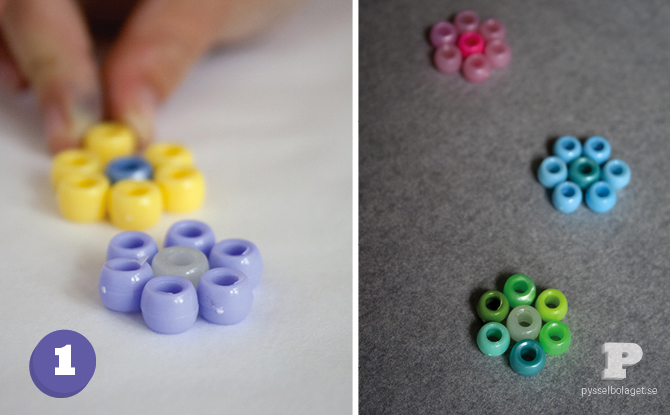
1. Principen är enkel, pärlorna läggs nära varann på bakplåtspapper och bakas i ugnen i 225 C i ca 10 min. Tyvärr luktar pärlorna riktigt illa när de smälter och det är säkert inte särskilt hälsosamt att andas in ångorna. Vi rekommenderar full fart på fläkten, öppna fönster och att barnen är i ett annat rum.
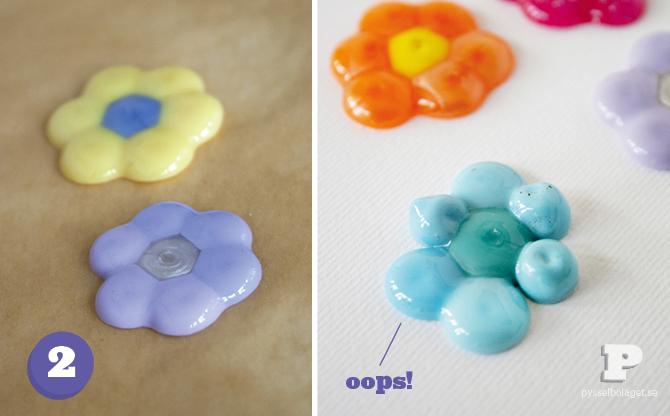
2. Pärlorna smälter också olika fort märkte vi, håll därför noga koll på ugnen hela tiden. Vi använde pärlor av olika kvalitet och även om de flesta blev fantastiska så fick vi några ”hoppsan”…
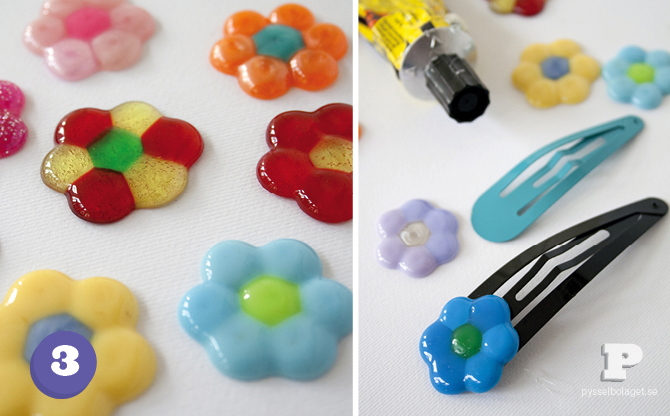
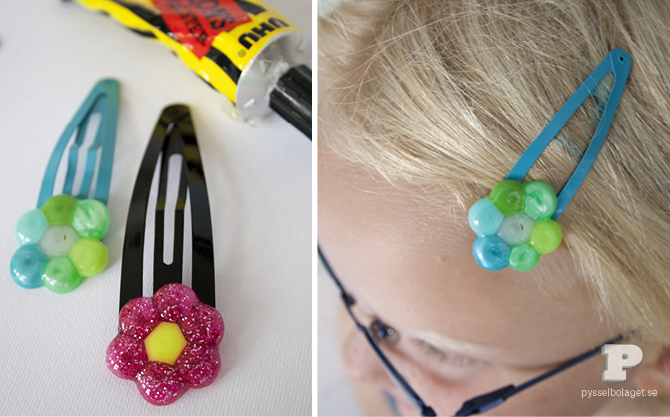
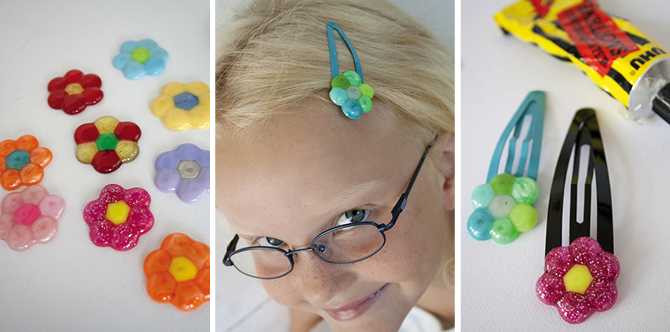
3. Låt era vackra blommor svalna ordentligt och fäst dem sedan på till exempel hårspännen.
Trevlig helg!
To melt beads in the oven is one of the funniest things we’ve done for a long time. Today we’re testing, inspired by the blog The Artful Parent, other sorts of beads. Check it out!
You’ll need pony beads and baking paper. We also used hair clips and glue to attach our finished flowers.
1. The concept is simple, place the beads in close shapes on baking paper and bake in oven at 225 C/425 F for about 10 minutes. Unfortunately, the beads smell really bad when they melt and it’s probably not very healthy to breathe in the fumes. We recommend full speed on the fan, open windows and kids in another room.
2. The beads also melts with different speed we noticed, so keep a close eye on the oven all the time. We used beads of different quality, and although most turned out amazing we got a few “oops “…
3. Let your beautiful flowers cool properly and attach them on for example hairpins.

15 Comments
Maria
17 August, 2012 at 10:43 amSå himla fina! Känner mig för gammal för blommiga hårspännen, men man kan kanske utveckla idén till ett julpyssel.
Alessandra
17 August, 2012 at 12:22 pmso cute!!!
xxx Alessandra
Helena, Craft and Creativity
17 August, 2012 at 8:27 pmSå fint! Måste testas!
Idag smälte jag minipärlor, blev väldigt bra!
Ha en trevlig helg. Kram
Jenny
18 August, 2012 at 4:07 amAbby and I haven’t tried this yet, but I think we will! These hair clips are so cute, and we have hundreds of purler beads! Have a great weekend, Karin!
Musqot
18 August, 2012 at 10:50 pmVilken härlig blogg! Vad mycket roligt ni har gjort!
Hälsningar Musqot
Berlynda
20 August, 2012 at 6:12 pmIs this harmful? What materials are these beads made of? They could be toxic.
Karin & Freja
21 August, 2012 at 8:21 amThe beads are made of plastic and the they didn’t smell nice when melted but we kept our windows open and the fan on. They’re only in for a short time and the smell didn’t linger long. I also made sure Freja wasn’t in the kitchen when I melted the beads. The blog I refer to in the post used their outdoor grill to melt the beads. Please let me know if you have any other questions and I’ll try to answer them as well as I can!
Johanna kaffepanna
23 August, 2012 at 1:59 pmVilken kul idé! Det ska testas. Gjorde sådana här i sommar: http://blogg.folkbladet.nu/johannakaffepanna/2012/08/22/vi-ar-vanner-med-varann/
Sara
24 August, 2012 at 1:16 amSuch a fun project, maybe we could do it with an old toaster over outside? thanks so much for sharing on craft schooling sunday, great to have you!
Linda, Fröken S
14 September, 2012 at 9:05 pmVad fint det blev och tack för tipset!
Janis
24 November, 2012 at 7:32 amSo beautiful, and such a clever idea. 🙂
Karin & Freja
25 November, 2012 at 4:46 pmThank you!
Lisa
4 May, 2013 at 7:37 amI melt these types of beads all the time on the BBQ. It works beautifully and you don’t have to be concerned about the fumes. I use low heat (gas grill) and they melt perfectly. Hope this helps avoid the fume issue. 🙂
Karin & Freja
6 May, 2013 at 6:49 pmThank you, Lisa, for this excellent tip! I’ll update my post with your comment!
عطيه
2 September, 2013 at 7:38 amمن اين رو خيلي دوست دارم عاليه(LOVELY)