Då var det dags för en ny bok – låt mig presentera ”Vackra halsband att göra själv”!…
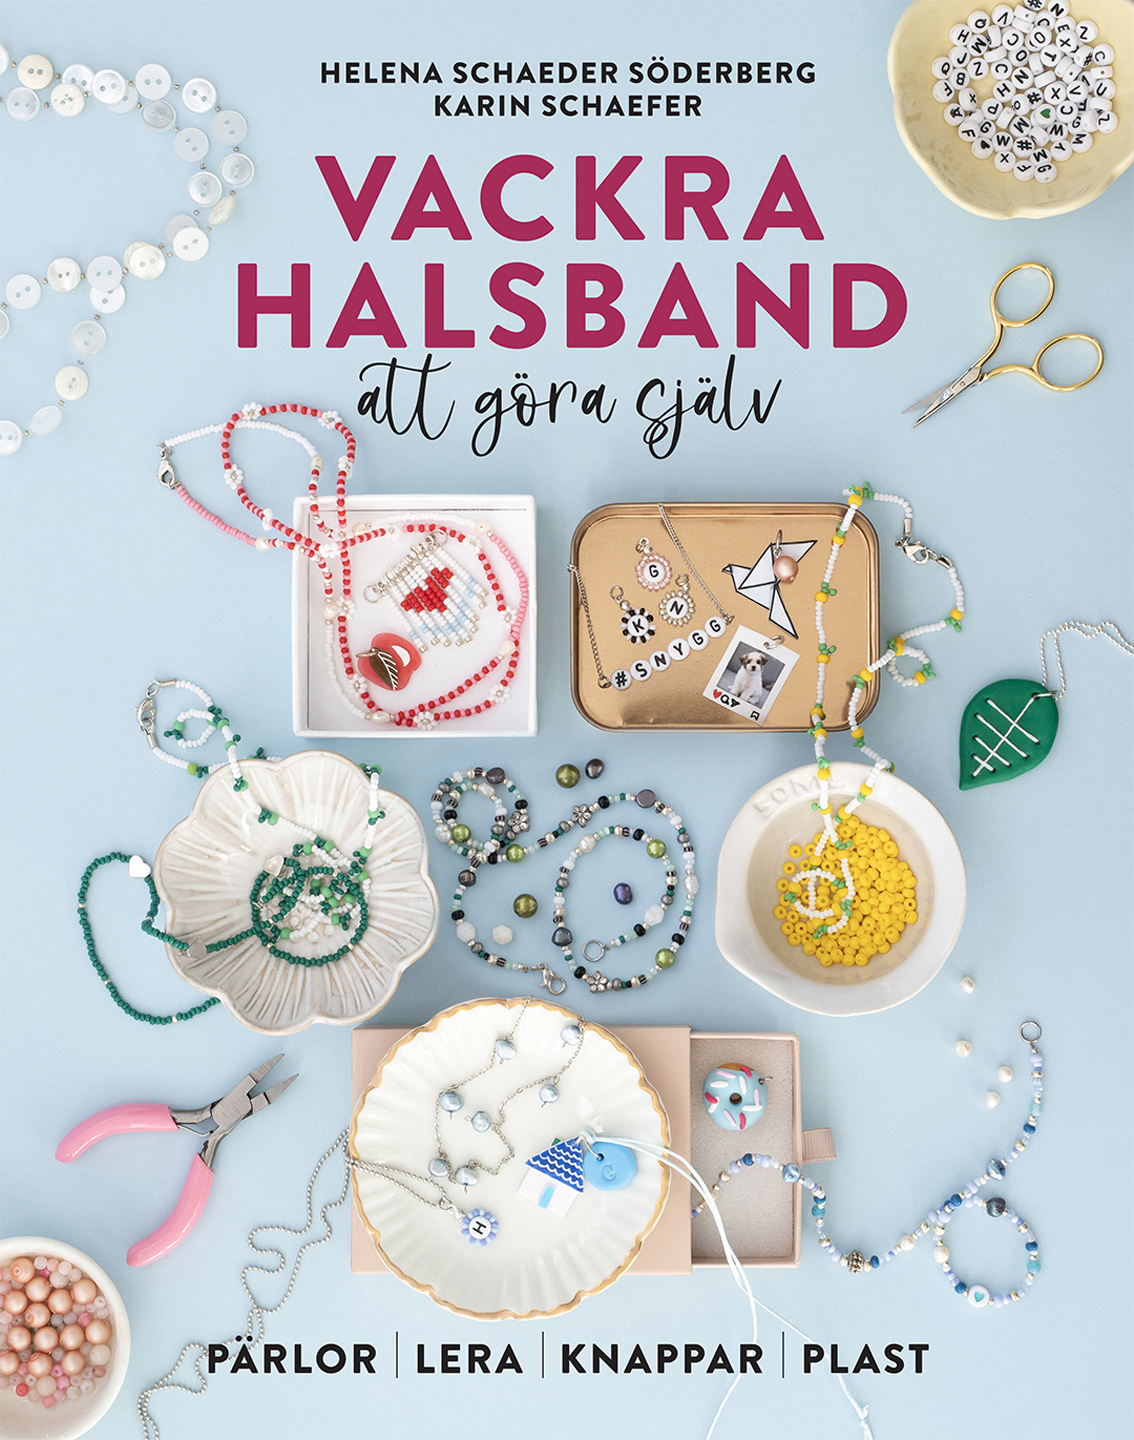
Då var det dags för en ny bok – låt mig presentera ”Vackra halsband att göra själv”!…
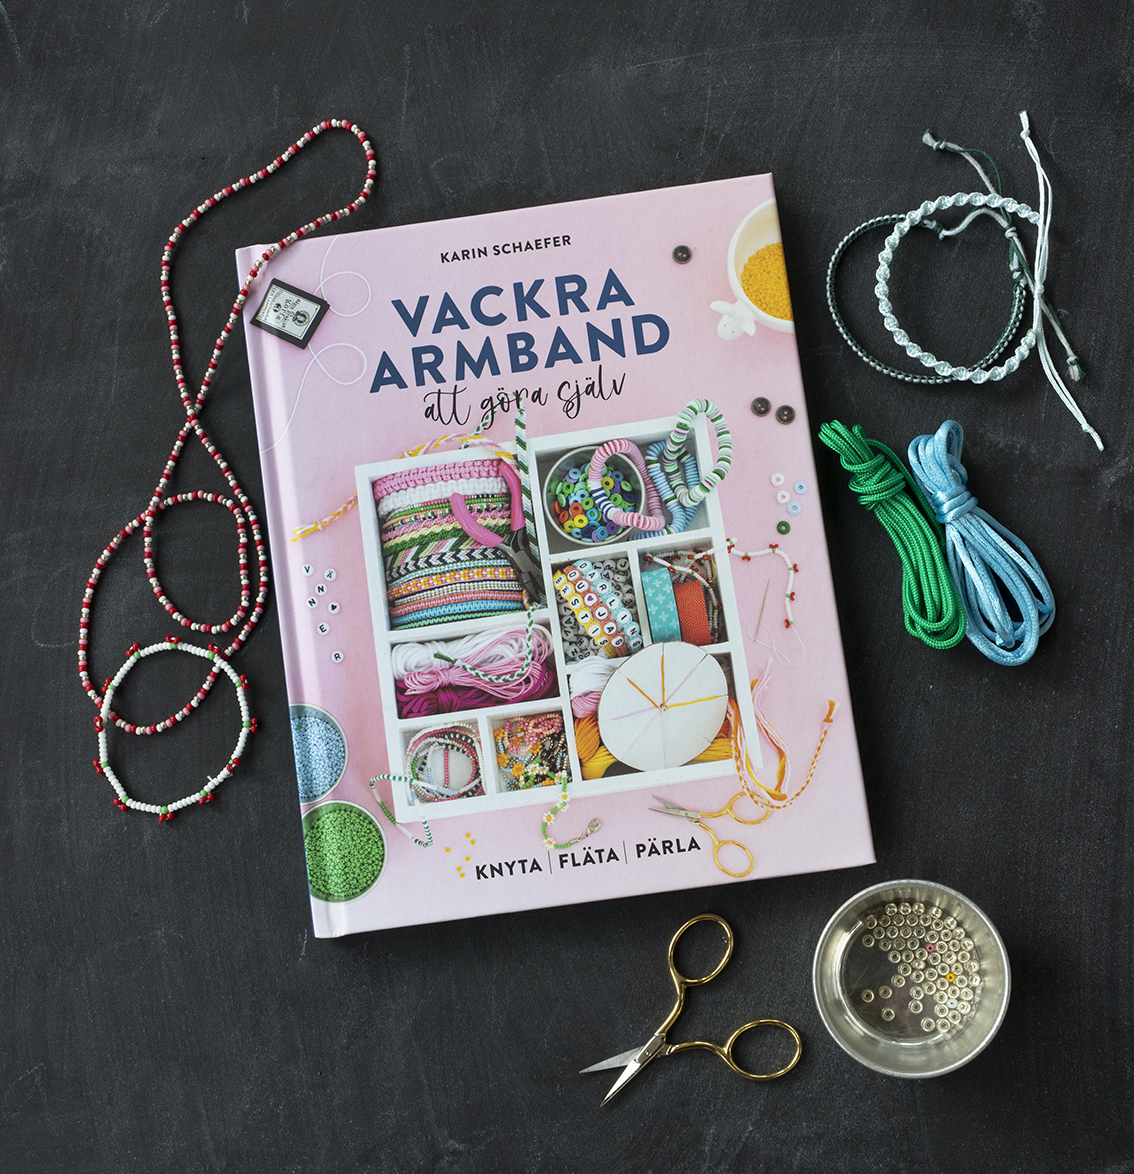
Du som följer Pysselbolaget har säker inte missat min bok Vackra armband att göra själv, men jag är fortfarande så glad över den fina respons boken har…
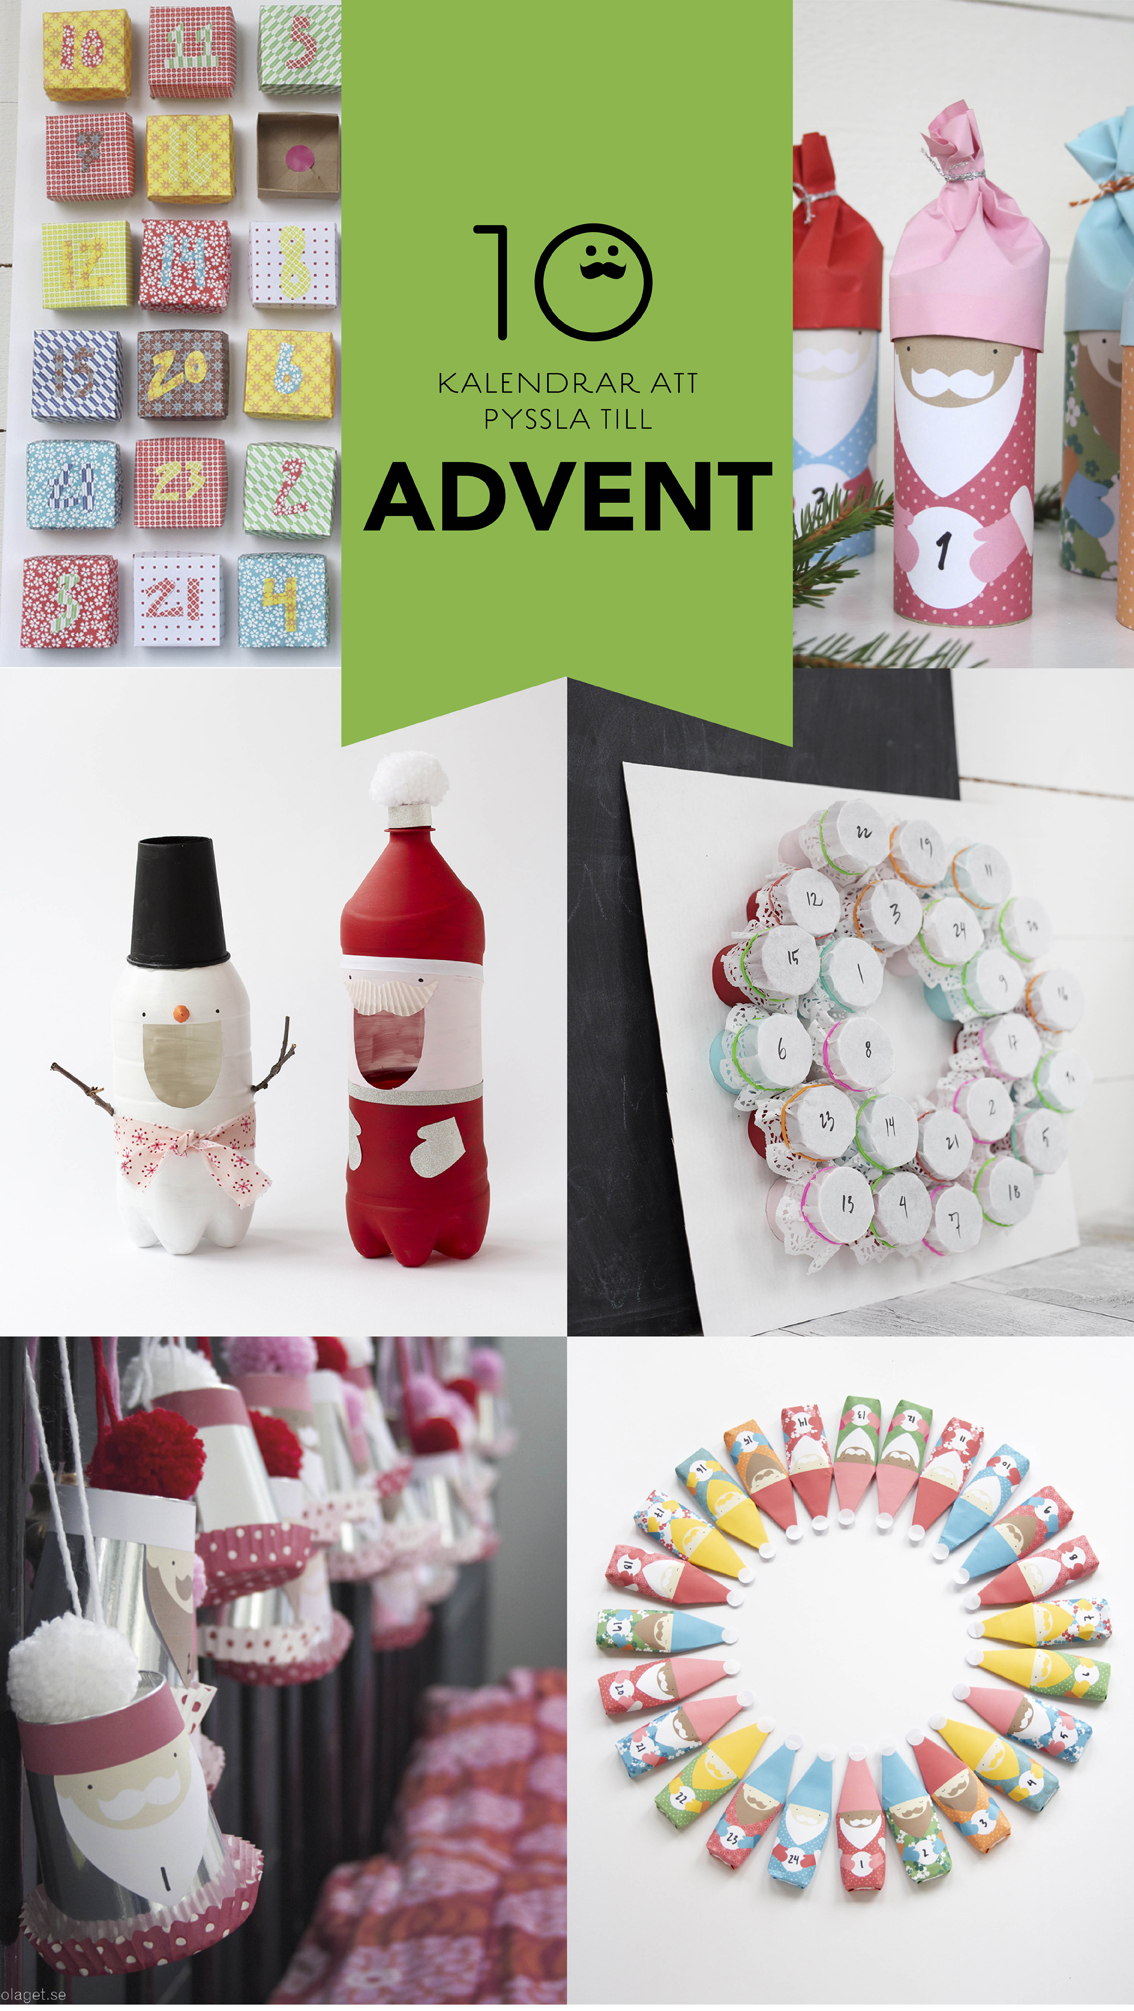
Jag tror inte att jag är ensam om att lite förvånat konstatera att det snart är december. Hur gick tiden plötsligt så fort? Visst borde alla…
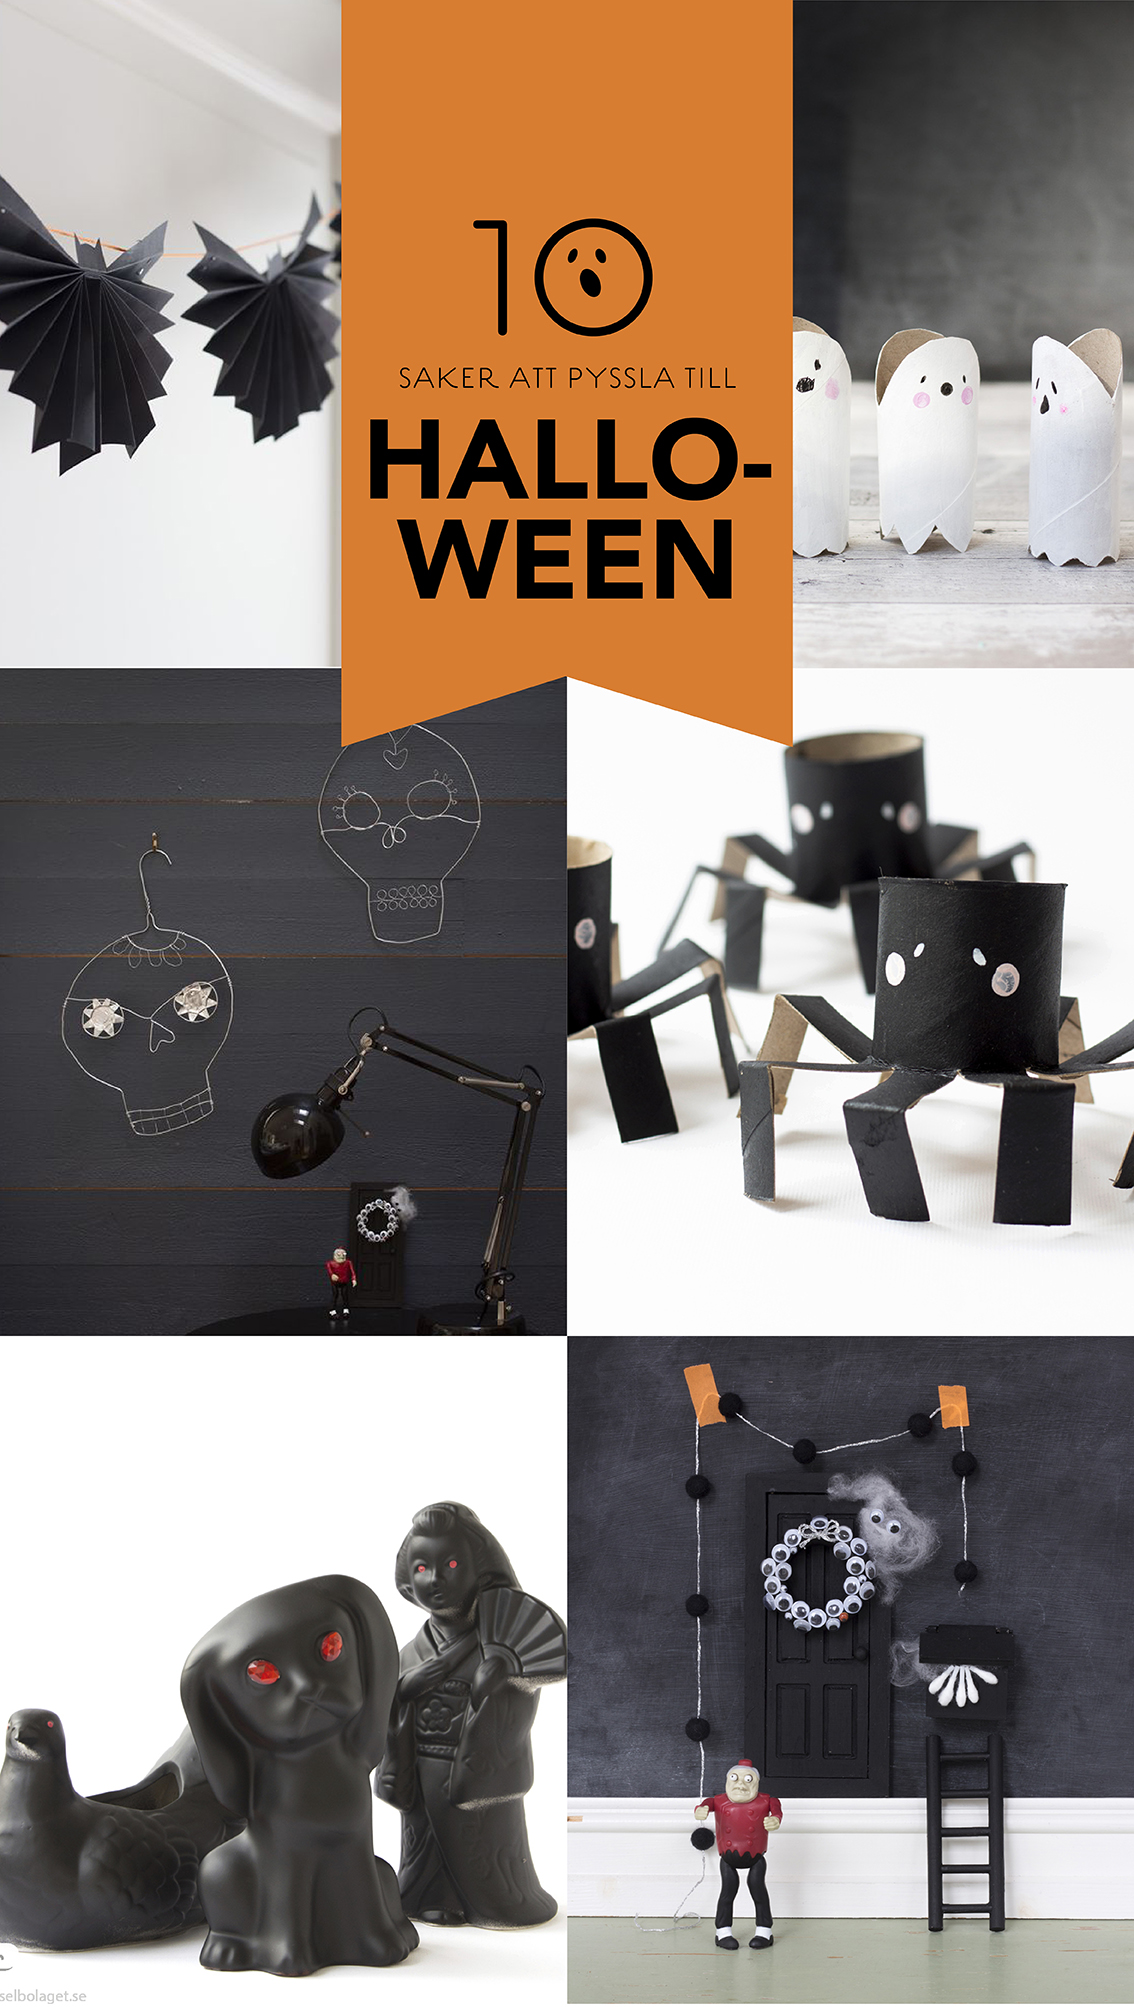
Halloween är ett ljuvligt tillfälle att pyssla ruskiga och roliga saker. Här kommer mina 10 favoriter ur arkivet.…
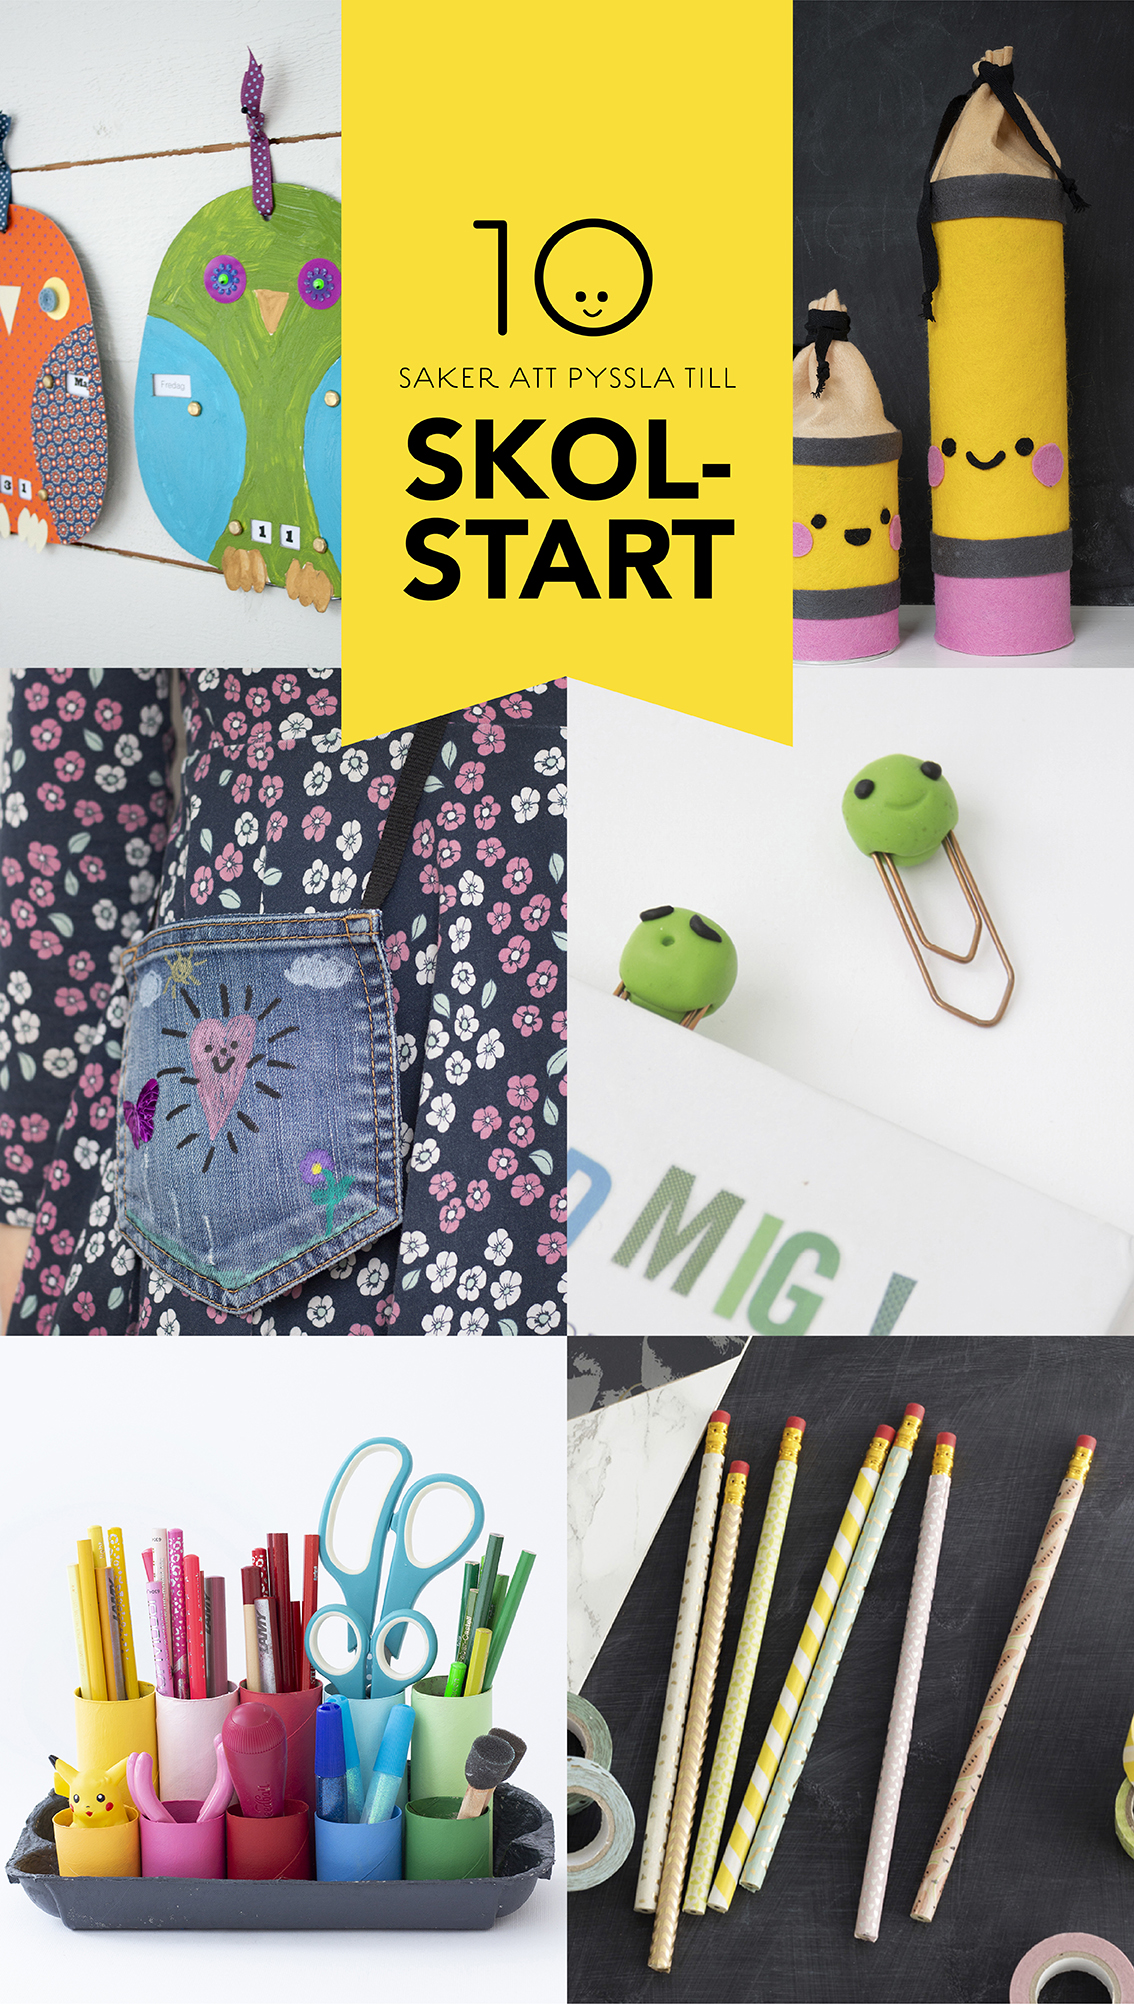
Skolan har börjat och jag får äntligen plocka fram våra skolstartspyssel! Häng med när jag listar våra favoriter.…
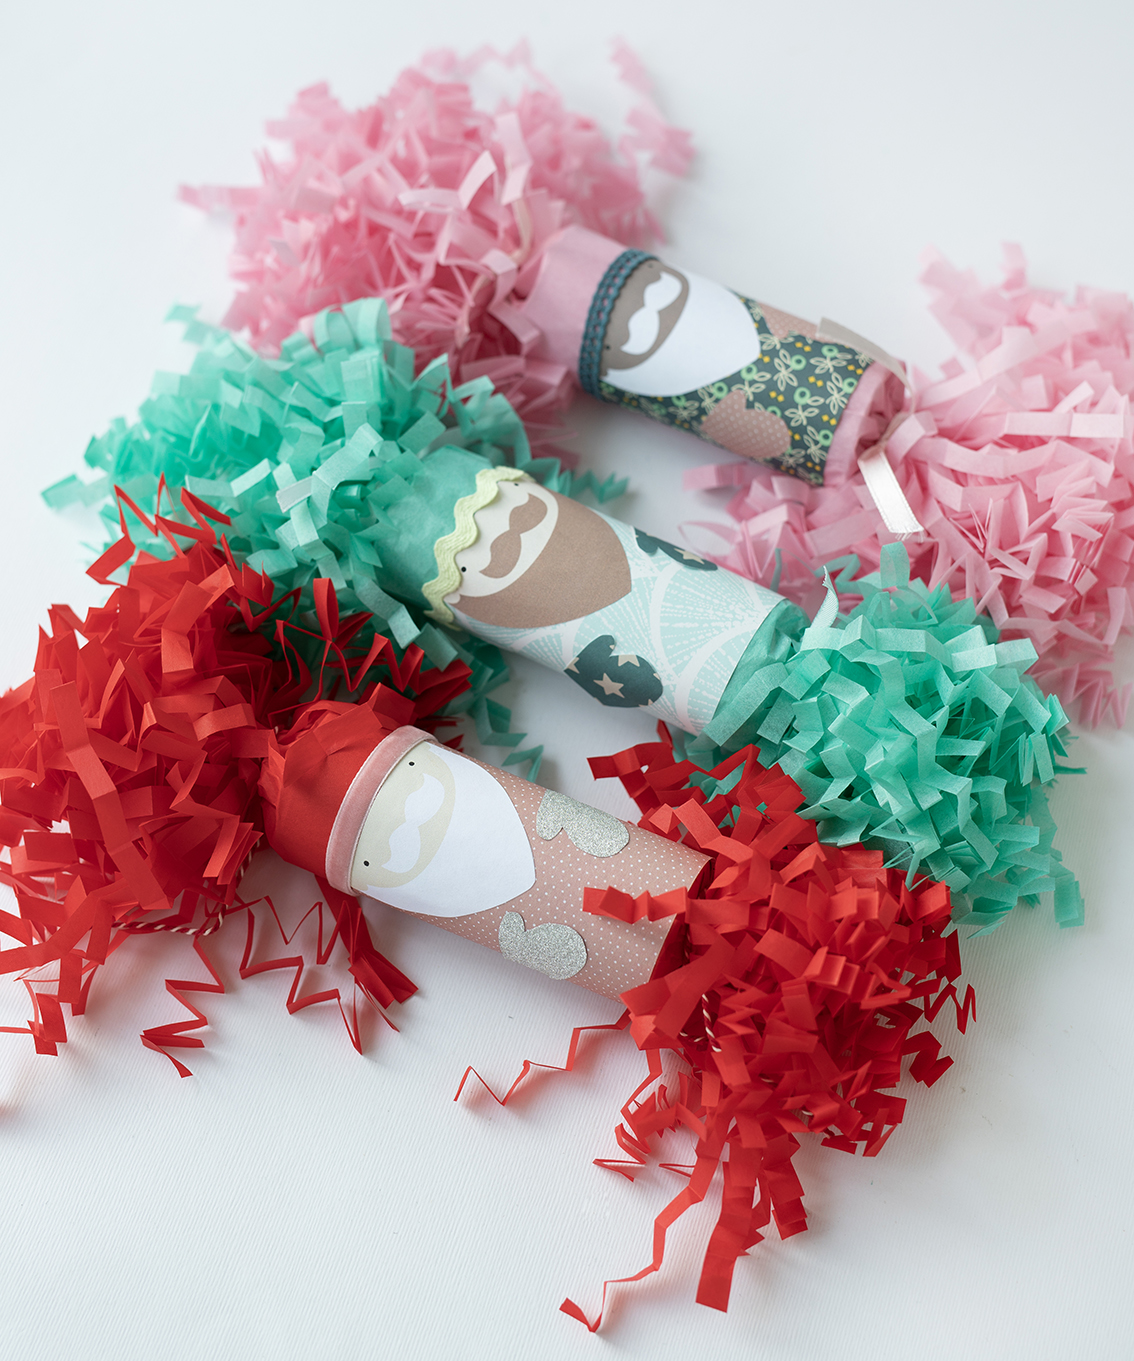
Smällkarameller är något de flesta av oss gjort tidigare. De silkespappersinslagna toarullarna är en klassiker kring jul. Jag dekorerar mina med som tomtar, med vackra papper…