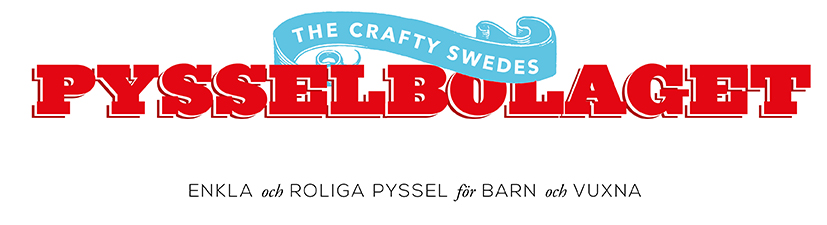
Vi har länge velat göra något fint att hänga på barnens väggar. Vi ville använda oss av gamla foton och vi ville inte ha ett vanligt collage. Inspirationen hittade vi, som vanligt, på Pinterest. Den fantastiska idén att göra konstverk med hjälp av en cirkelstans kommer från bloggen Mermag, och här kommer vår variant.
———
We long planed to do something pretty to hang on the kids walls. We wanted to use old photos of them but we didn’t want a regular collage. The inspiration was found, as so many times before, on Pinterest. Inspired by Mermag’s Circle Punch Art we made our very own circle punch portraits.
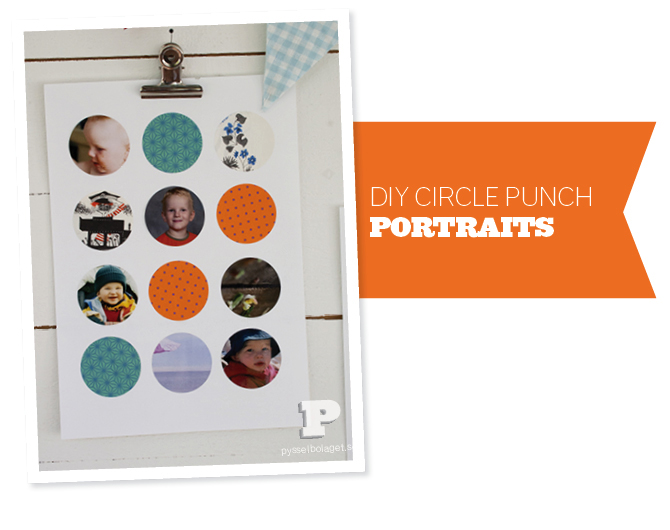
Vi har använt en cirkelstans, bilder på barnen, mönstrat papper och fina tidningsbilder. Vi har också använt vanliga vita papper och klister.
———
We used a circle punch, photos of the kids, patterned paper and pretty magazine pictures. We also used a white sheet of paper and glue.
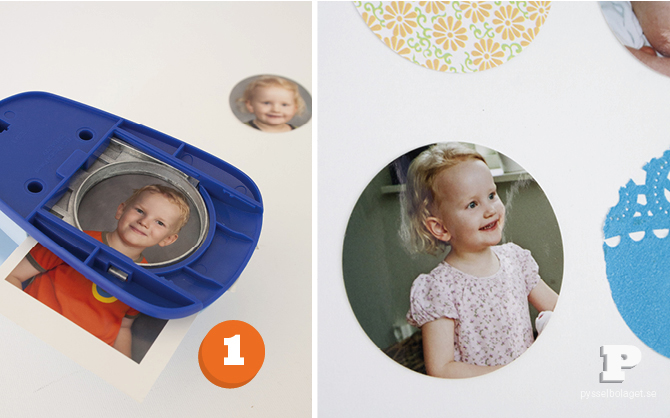
1. Börja med att trycka ut bilder på barnen med hjälp av cirkelstansen. För att vara säker på att få med deras ansikten vände vi cirkelstansen upp och ner.
———
1. We begun by punching out photos of the kids. To make sure we got their faces punched out we had to turn our circle punch up side down.
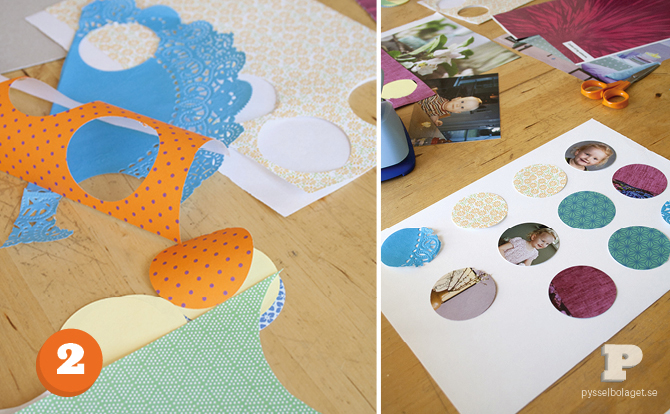
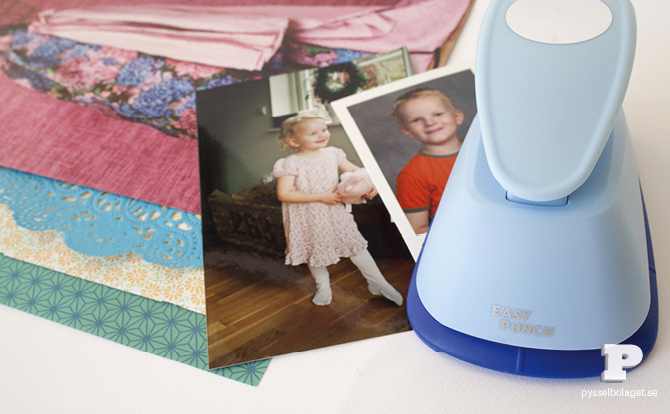
2. Vi ville att de färdiga collagen skulle få en enhällig färgskala. För att få en bra blandning av färger tryckte vi också ut cirklar av mönstrade papper och fina bilder ur tidningar.
———
2. We wanted the finished picture to have certain colors. To get a good mix of color we also punched out circles of pretty paper and magazines pictures.

3. Freja placerade ut cirklarna på ett papper. Det tog ett tag innan hon var helt nöjd. Sen klistrade vi cirklarna på pappret. Vår stans blir ibland lite slö. För att få den skarp igen trycker vi ut cirklar i aluminiumfolie. Funkar varje gång!
———
3. Freja placed out the circles on a sheet of paper. It took a while before she was completely satisfied. Then we glued the circles on to the paper. Our punch is well used and it gets a bit unsharp from time to time. To sharpen it we punch holes in aluminum foil. Works like a charm!
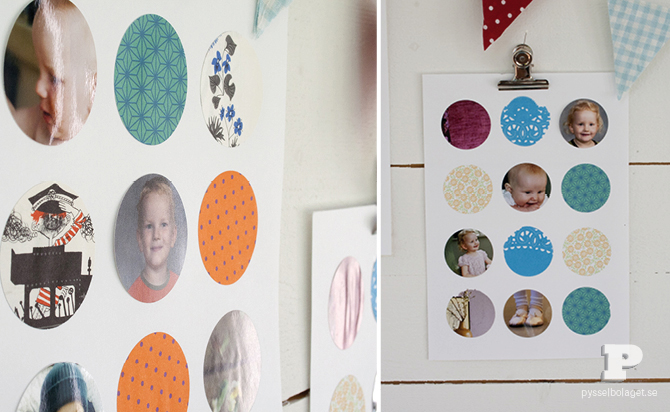
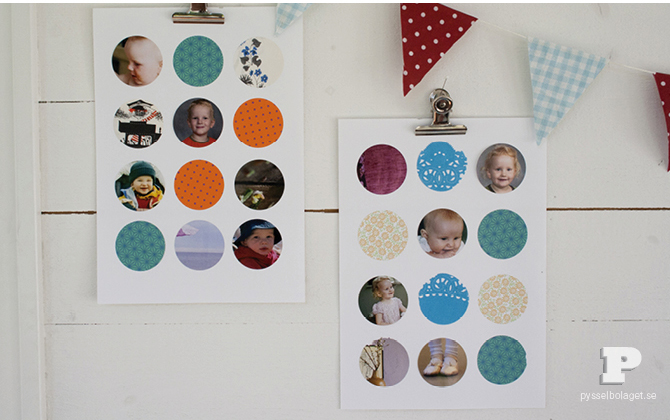
Våra porträttavlor hänger uppe och vi är mycket nöjda med dem! De kommer att få ramar så småningom, men vi tycker att de är fina redan nu.
———
Our portraits are up on the wall and we’re very pleased with them! They will be framed eventually, but we find them adorable to look at even now.
Det här inlägget gjordes för bloggen the Southern Institute. Ni hittar det ursprungliga inlägget här.
———
This tutorial was made for the blog the Southern Institute. You can find the original post here.
No Comments