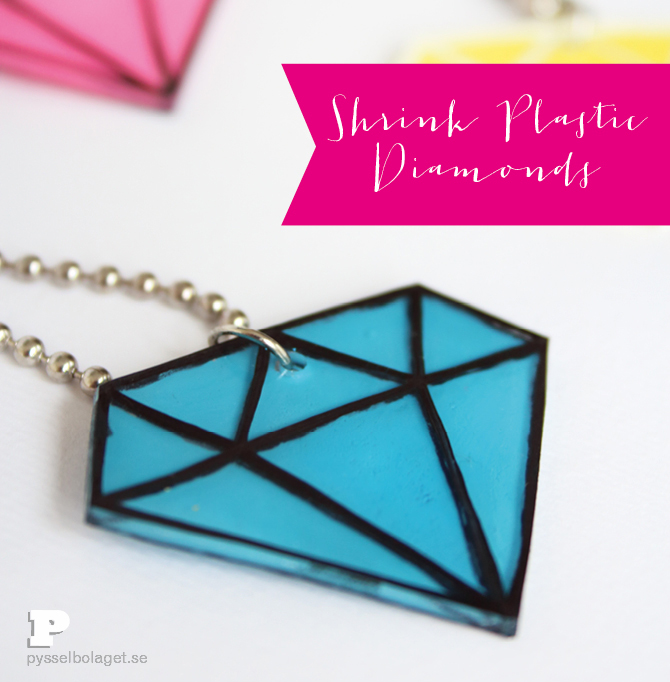
It’s time for a shrink plastic project again! If you haven’t tried shrink plastic, we recommend you to give it a try. It is both easy and fun. Today we make luxurious diamonds.
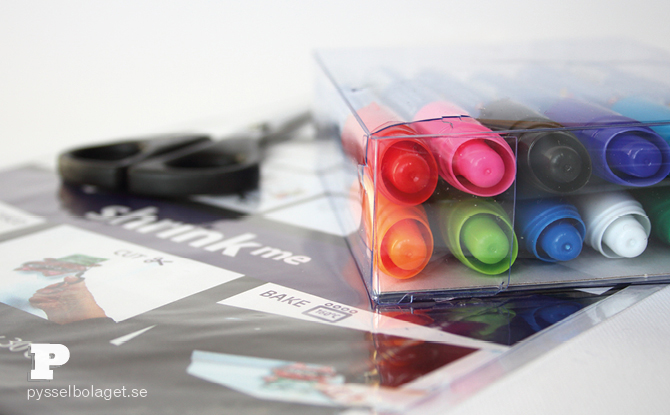
You need shrink plastic, scissors, waterproof pens and a varnish. We have also seen Helena på Craft & Creativity use watercolor pencils with a good results. You also need baking paper and access to an oven.
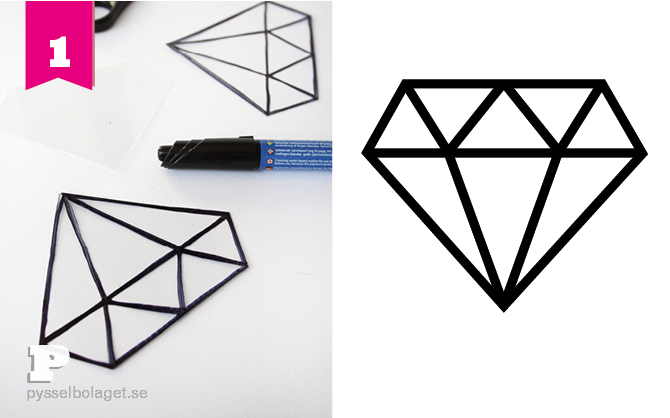
1. Shrink plastic comes in different varieties. We bought a package of translucent , pure white and pure black plastic and today we use the translucent and black one. We drew out the outlines of our large diamonds first. Because the plastic shrinks considerably in the oven you have to make the diamonds big.
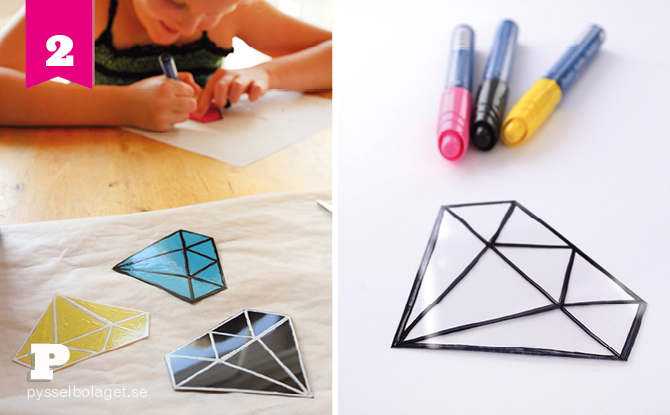
2. Once the outlines were in place Freja filled the diamonds with lovely colors.
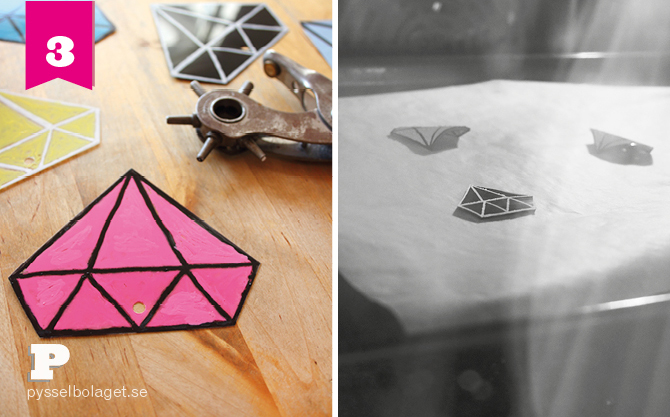
3. Finally we made a hole in the plastic. Bear in mind that the plastic shrinks. Make the holes big, or try to shrink a scrap piece with a hole on first. It’s it’s no fun to discover the holes are too small when they all come out of the owen! Put the diamonds on the baking paper and “bake” as instructed on your shrink plastic package. Sometimes they curl up a bit, but they usually straighten out in time for picking them out.
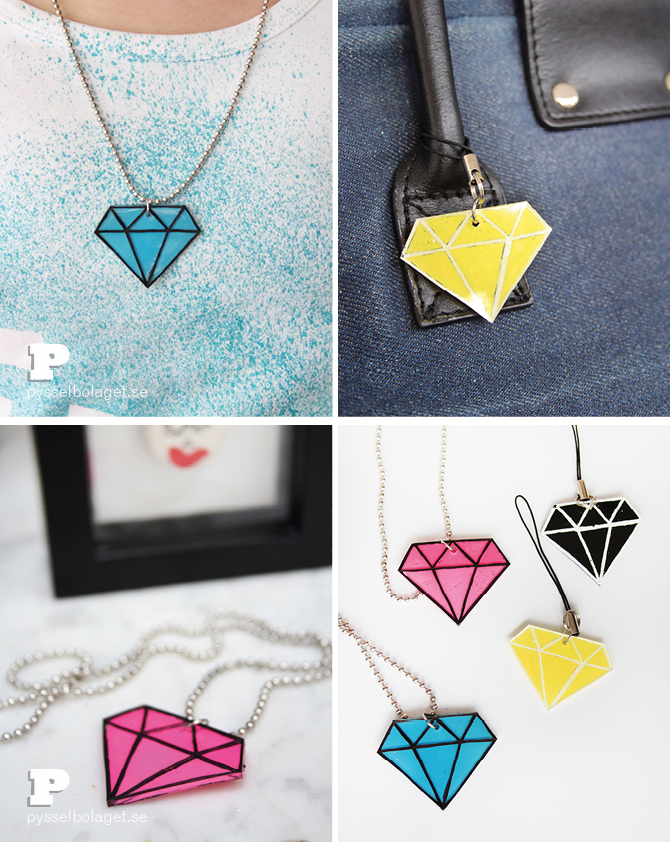
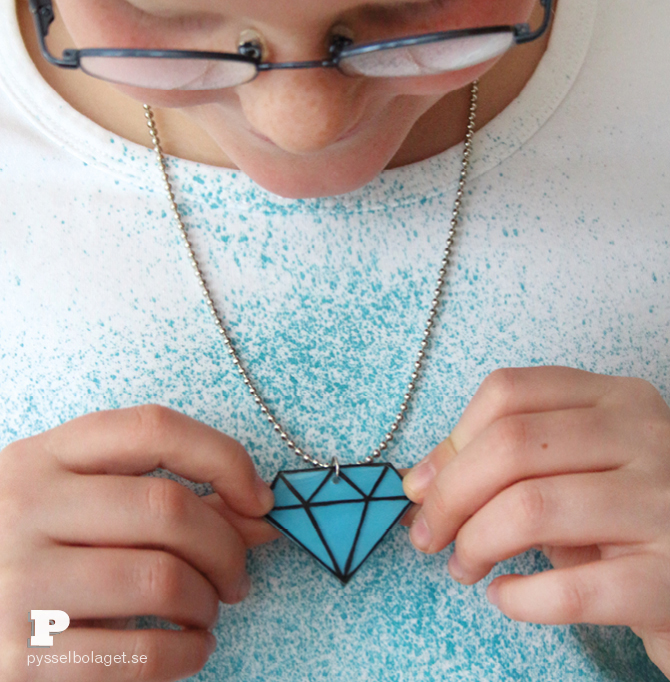
The colors turned out clear and bright, but they are a bit fragile. A couple of coats of varnish remedy that. We feel luxurious and rich with our new diamonds on bags and around our necks. Want to see more? Check out us, Helena and Pastill.nu.

2 Comments
Rachel Vass
18 April, 2014 at 8:22 pmThese look lovely! I was just wondering what make of varnish you used? I really want to try but not sure what type of varnish to get that won’t cause the colours and pens to run. Thanks, Rachel
Karin & Freja
22 April, 2014 at 2:39 pmHello Rachel! I use permanent markers to draw and color the diamonds and they don’t run. When the diamonds are shrunk I use a decoupage vanish. It has been working fine so far!