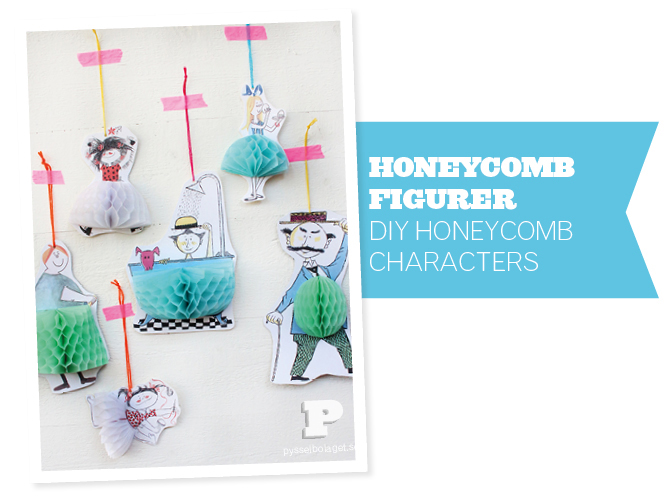
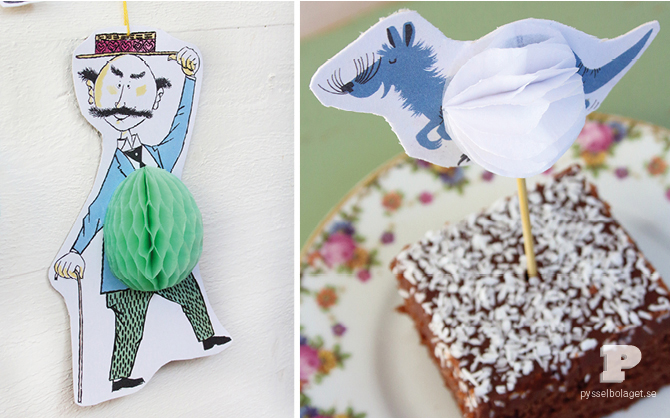
I Sverige är pappersbollar i honeycomb papper väldigt populära. Överallt på bilder och i affärer syns de vackra skira pappersbollarna. Illustratören Ingela P Arrhenius har gjort ljuvliga figurer med honeycomb detaljer. Vi vill förstås gärna göra egna figurer, men vad gör man om man inte kan rita? Varför inte klippa ut!
———
In Sweden honeycomb balls are very popular. You see the beautiful delicate paper balls everywhere, in pictures and in shops. The illustrator Ingela P Arrhenius has made lovely characters with honeycomb detail. We, of course, want to make our own characters, but what if you can’t draw? We’re using scissors instead!
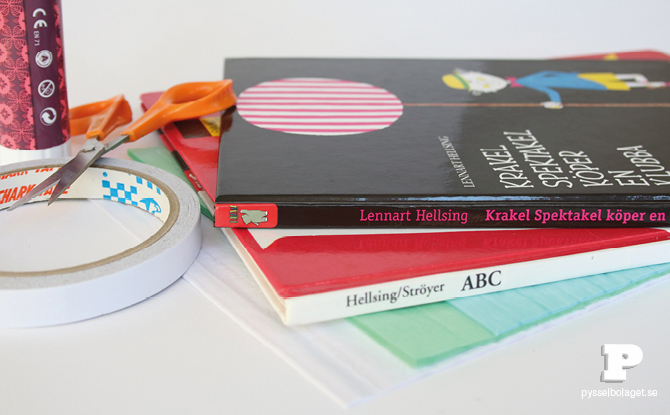
Ni behöver bilder av figurer som ni gillar. Vi har valt att använda några älskade figurer ur barnens bilderböcker. Ni behöver också honeycomb papper, också kallat dragspelspapper, sax, klister och dubbelhäftande tejp.
———
You need pictures of characters that you like. We have chosen to use beloved characters from the children’s picture books. You also need honeycomb paper, scissors, glue and double sided tape.
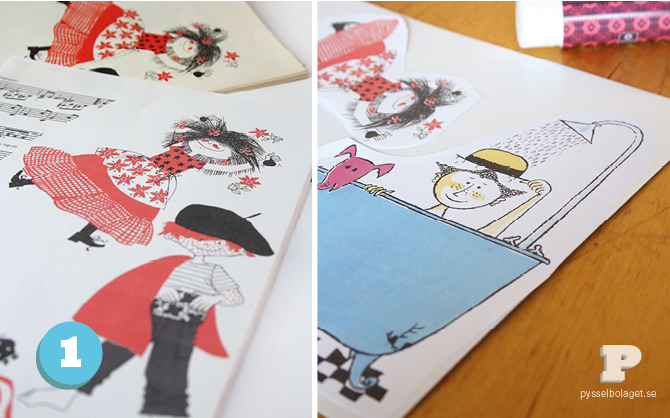
1. Börja med att klippa ut, eller kopiera och klippa ut, de figurer ni vill använda. Tänk på att figurerna ska ha en bra yta att sätta en boll eller en kjol på. För att figurerna ska blir stabila så klistrar vi dem på bitar av kartong.
———
1. Start by cutting out, or copy and cut, the characters you want to use. Keep in mind that the characters need a good surface to put a honeycomb on. To make the paper characters more stable, we paste them on to pieces of cardboard.
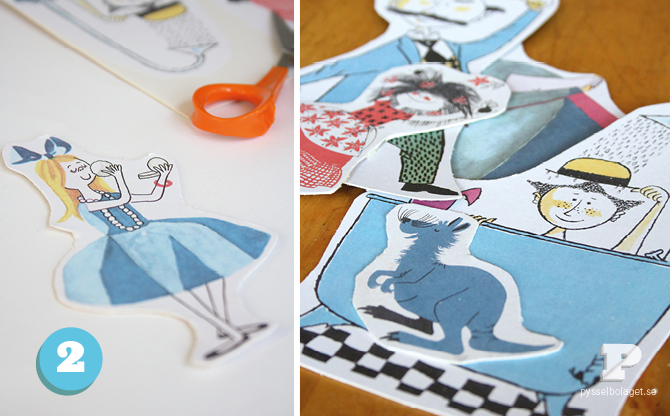
2. När klistret torkat klipper ni ut dem ur kartongen. Man behöver inte var så noga, det gör ingenting att det är en vit kant kvar runt figuren.
———
2. When the glue has dried cut your characters out of the cardboard. Don’t cut too close to the drawing, it doesn’t matter if there is a white border around the characters.
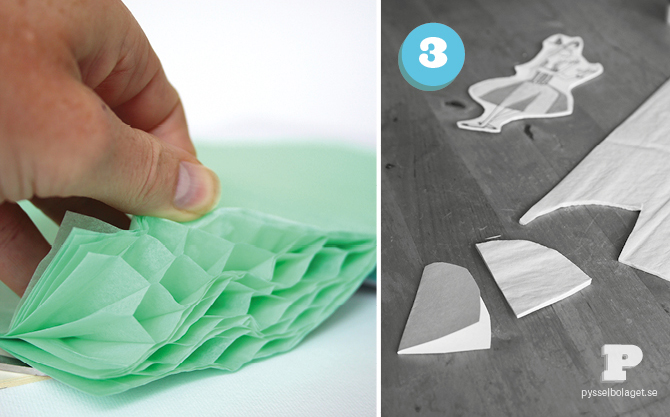
3. Nu är det dags att klippa i honeycomb pappret. Pappret har två riktningar. Se till att ni klipper med pappret i rätt riktning. Gör en mall av ett vanligt papper, så att ni ser att mallen täcker den yta ni vill klä. Vik mallen dubbel och klipp ut formen i honeycomb papper.
———
3. Now it’s time to cut the honeycomb paper. The paper has two directions. Make sure you cut the paper in the right direction. Make a template of a plain paper, so that you can see that the template covers the area you want to dress. Fold the template and cut out the shape in the honeycomb paper.
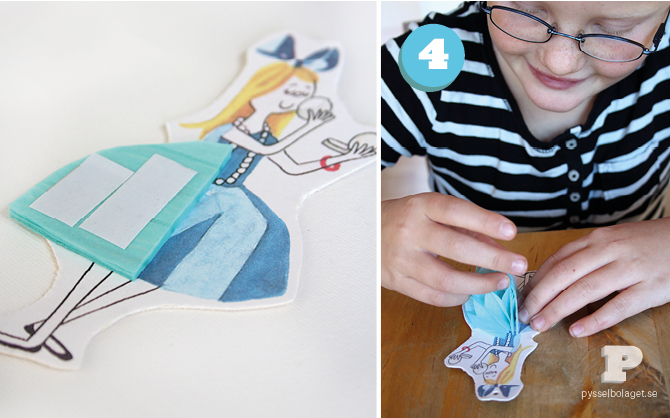
4. Honeycomb detaljen fäster ni sedan lättast med bitar av dubbelhäftande tejp. Tejpa först fast den ena sidan, och vik sedan försiktigt upp och fäst på den andra sidan.
———
4. Attach the honeycomb shape to your characters with pieces of double sided tape. Attach one side first, and then gently fold up and attach the other side next.
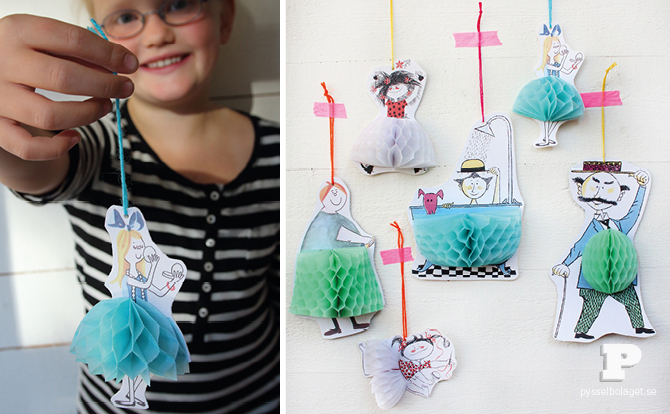
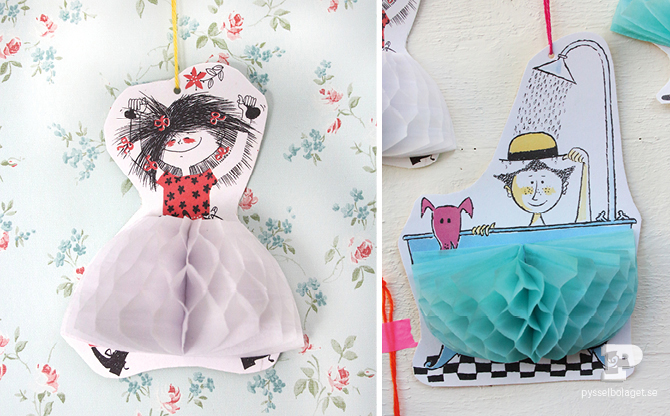
Ballerinan har fått en ny kjol! De andra figurerna är också dekorerade.
———
The ballerina has a new skirt! The other characters are also decorated.
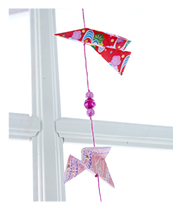
Figurerna hänger nu på väggarna i olika rum, alla utom kängurun. Den fick toppa en kaka istället!
———
The characters now hang in different rooms – all except kangaroo. It has been used as a cake topper instead!

14 Comments
Helena, Craft and Creativity
4 October, 2013 at 9:12 amDe blev helt ljuvliga och idén är helt genial! Jag har inga superlativ som räcker för att beskriva hur mycket jag tycker om dessa! <3 Stor kram till er & trevlig helg. /Helena
Karin & Freja
4 October, 2013 at 12:03 pmVi tackar och rodnar! Det finns en risk att vi måste beställa mer snart 😉
Trevlig helg till er också!
Elsa
4 October, 2013 at 9:47 amThe result is very fun! Honeycomb is not very common in France, it’s a pity…
Karin & Freja
4 October, 2013 at 12:05 pmThank you! Honeycomb paper has not been available in Sweden until recently. With a bit of luck you might find it in France soon!
Alessandra
4 October, 2013 at 11:06 amThese are lovely!!!!!
happy weekend and thank you, xxxxx Ale
Karin & Freja
4 October, 2013 at 12:06 pmThank you Alessandra! We wish you a great weekend too!
Jenny
4 October, 2013 at 12:40 pmUnderbara!
Man blir ju alldeles glad! Och tänk vilken härlig julgran ni skulle få om gubbarna flyttade in i den i december 🙂
Tack för fantastisk inspiration 🙂
Karin & Freja
7 October, 2013 at 8:58 amDet är ju en toppenidé! Vi behåller dem framme till jul. Det kanske hinner bli fler tills dess 😉
Tess
8 October, 2013 at 9:31 amEftersom jag snor så många idéer från er så tipsar jag om enkelt pyssel till er. Garanterat ingen nyhet och ni har säkert redan gjort massor men jag blev så nöjd med resultatet för en gång skull 🙂
Tess
8 October, 2013 at 9:31 amoch här är länken 🙂
http://tess.grevskapet.com/2013/10/det-dar-med-hostpyssel.html
chanette a
9 October, 2013 at 3:04 pmvar kan man köpa sånt comb papper?
Karin & Freja
10 October, 2013 at 12:27 pmWebbutiken makeandcreate.se har dem. De heter dragspelspapper hos dem.
creativejewishmom/sara
10 October, 2013 at 10:36 pmSo much fun, would make great gift toppers, or you could even frame them in shadow box frames…..thanks so much for sharing on craft schooling Sunday! I’m always so happy when I get to add Sweden to my list, especially if its you!
DIY Paper Honeycomb Decorations - Quick 5 minutes DIY Crafts Ideas
30 August, 2019 at 7:00 am[…] DIY Honeycomb Characters See the tutorial at Pysselbolaget. […]