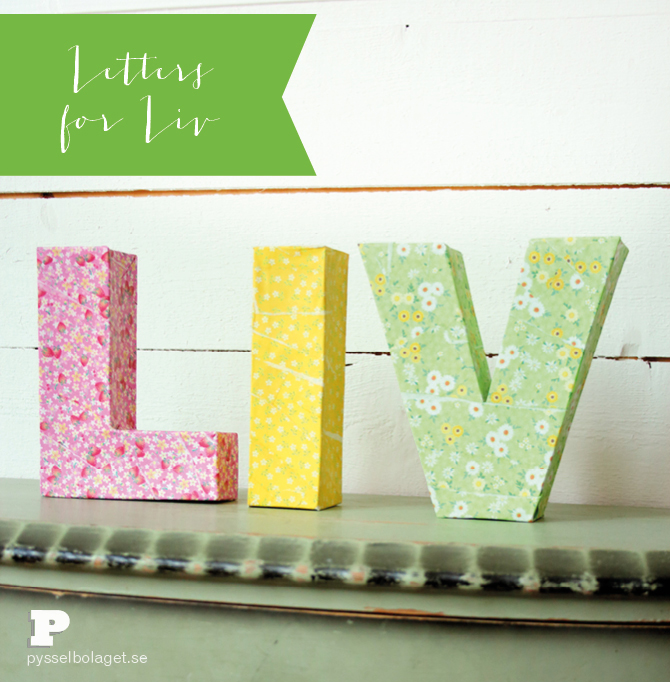
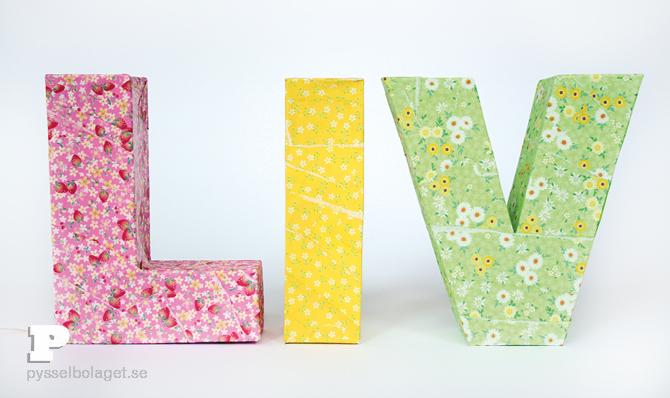
This spring we’ve been asked to redecorate a kid’s room. We will make new thing, redo old things and share our work and ideas with you. It’ll be a lot of fun ! We are jumping the gun a bit and start this week by making cardboard letters for little Liv.
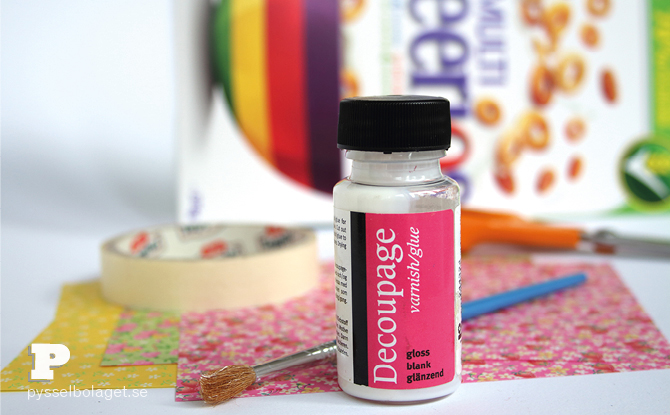
To make cardboard letters you need cardboard, we have used a cereal box, masking tape and scissors. You also need to pretty paper, a brush and decoupage glue.
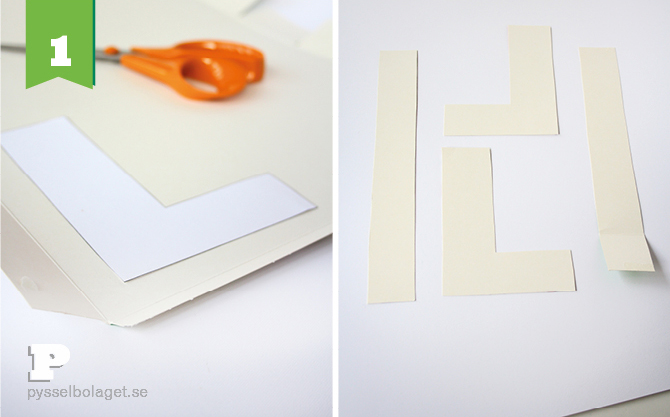
1. Start by drawing a letter, or print out the letter from a computer, on a paper. Transfer the letter on to the cardboard using the paper template. You need two of each letter, one for the front and one for the back. Then cut out stripes for the side of the letter. Our stripes are 3 cm wide and long enough to cover all the edges of the letter.
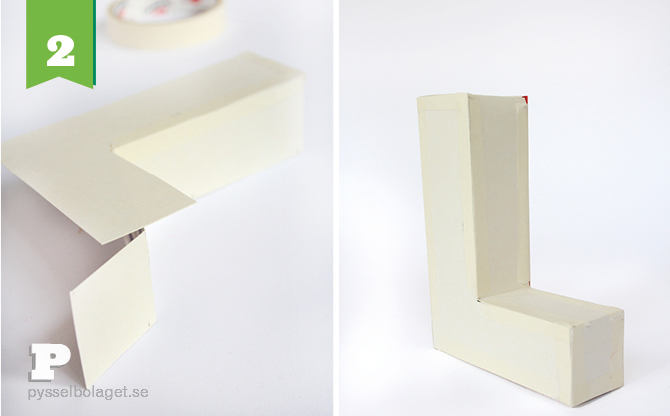
2. Tape the side stripes on the back and the front of the letter using masking tape.
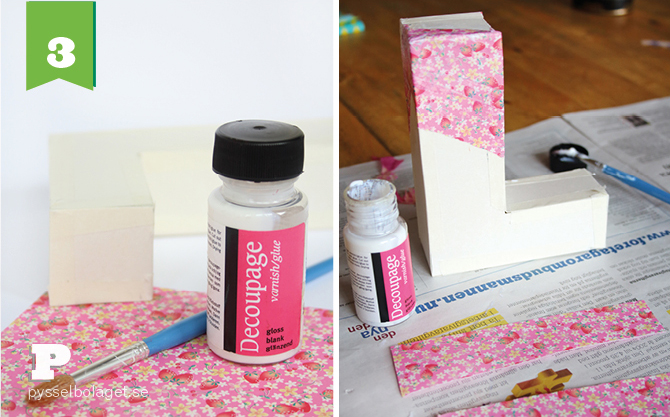
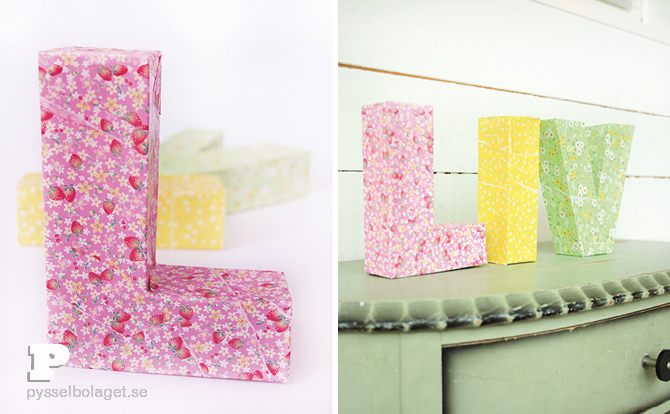
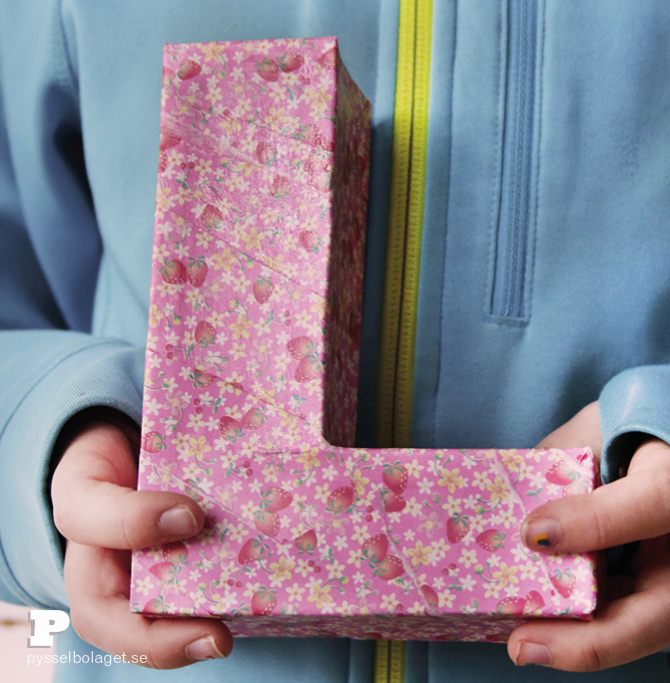
3. The first letter is ready to be decorated. We decorate it with pretty papers and decoupage glue. Gently glue stripes of paper and, when the whole letter is covered and the glue has dried, add a final coat of glue for protection.
Cardboard letters can be bought ready-made and undecorated but with a little patience and glue, we managed to make our own.
The rest of Livs room will appear here in the spring. We can’t wait to show it to you.

1 Comment
21 DIY Cardboard Letters | Guide Patterns
10 March, 2017 at 2:53 pm[…] Cardboard Letters in Soft Colors […]