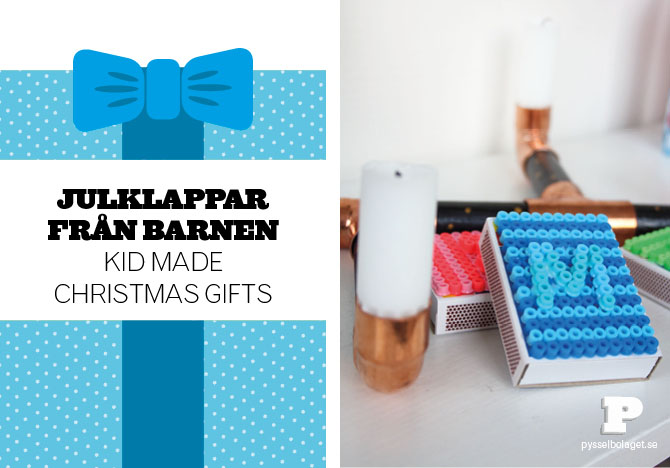
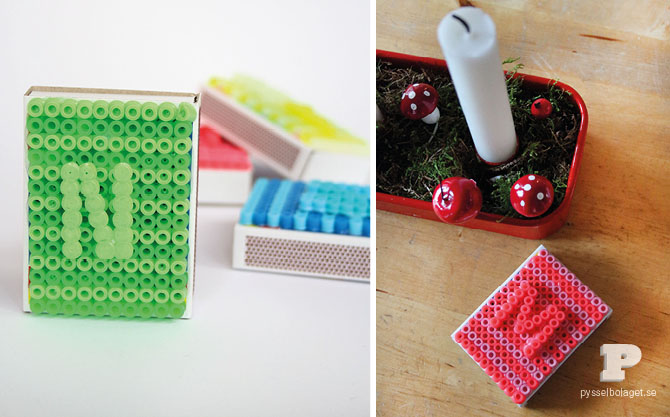
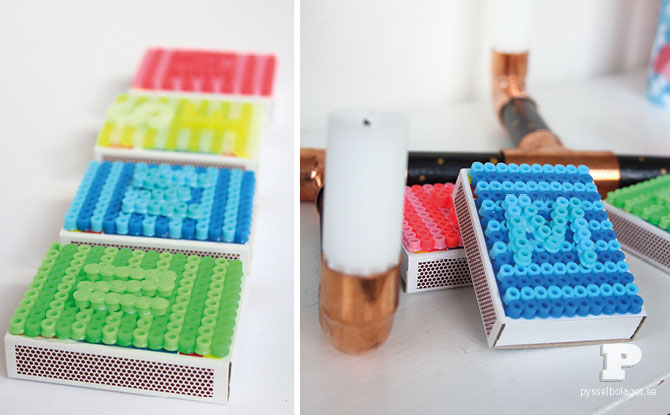
Vi fortsätter vår serie om julklappar som barnen, tillsammans med en vuxen, kan göra och idag dekorerar vi tändsticksaskar. Ni som följer oss har sett oss göra så dem förut men, eftersom de är både lätta att göra och roliga att ge bort vill vi visa dem igen.
———
We continue our posts on Christmas gifts that kids, accompanied by an adult, can make and today we decorate matchboxes. If you follow us you might have seen us do this craft before but, since it’s easy to do and appriciated as a gift, we like to show it again.
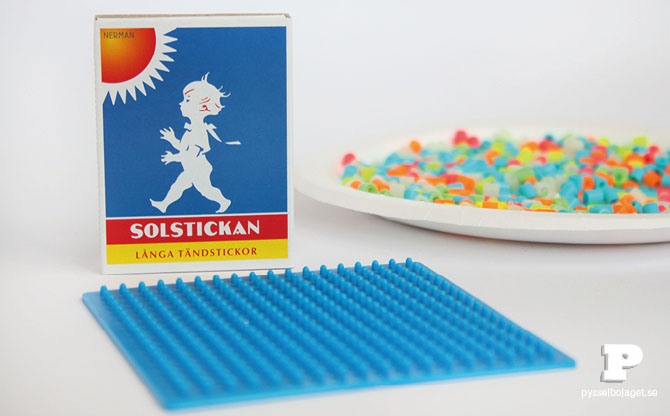
Ni behöver pärlor och pärlplattor, tändsticksaskar och klister. Ni behöver också ett strykjärn och strykpapper.
———
You need Hama beads and pegboards, matchboxes, glue, iron and ironing paper for hama beads.
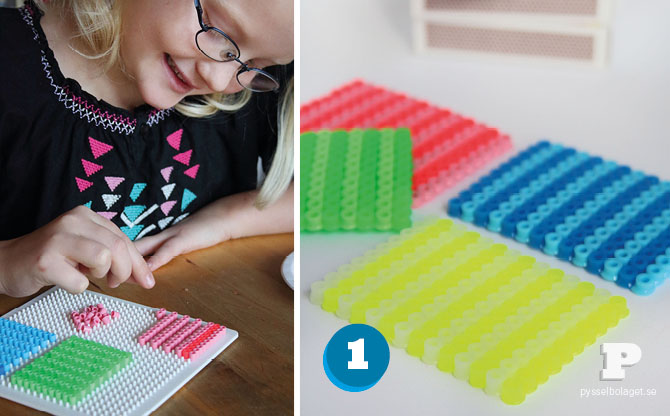 1. Börja med att mäta ut askens storlek på pärlplattan och sätt sedan pärlpatteexperterna i arbete. Stryk de färdiga plattorna och låt dem svalna.
———
1. First, measure the size of the matchbox onto the pegboard and then put your pegboard experts to work. Iron the finished patterns according to the instructions on the ironing paper and let them cool.
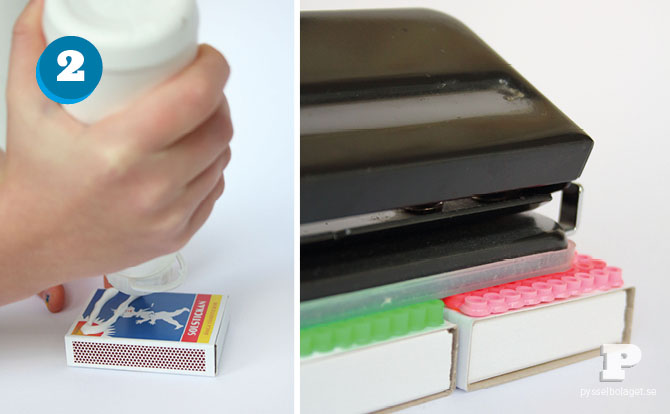
2. Klistra sedan fast dem på tändsticksaskarna. Pärlplattorna behöver ligga under något tungt medan de torkar.
———
2. Then paste them onto the matchbox area. The finished Hama artwork may need to be put under something heavy while it dries.
Tändsticksaskarna är färdiga att slå in och det börjar bli fullt under granen!
———
Our matchboxes are ready to wrap and it’s already filling up with gifts around the Christmas tree!
Vi har, som sagt, gjort tändsticksaskar tidigare, dessa hitta du här. Våra underbara läsare har också gjort fina tändsticksaskar, några av dessa hitta du här.
———
We have, as I said, decorated matchboxes before, you’ll find them here. Our wonderful readers also made great matchboxes, some of them you’ll find here.
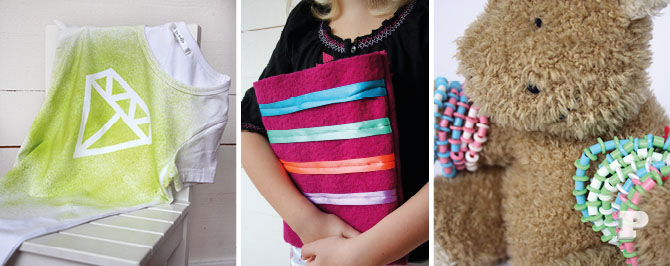
Fler “Julklappar från barnen”: T-shirts med tryck / Fodral till läsplatta / Smälta armband
———
More “Kid Made Christmas Gifts”: Printed Shirts / E-reader Cover / Melted Bead Bracelets

1 Comment
Elsa
9 December, 2013 at 5:17 pmThis is a nice and quick DIY: perfect for us 😉