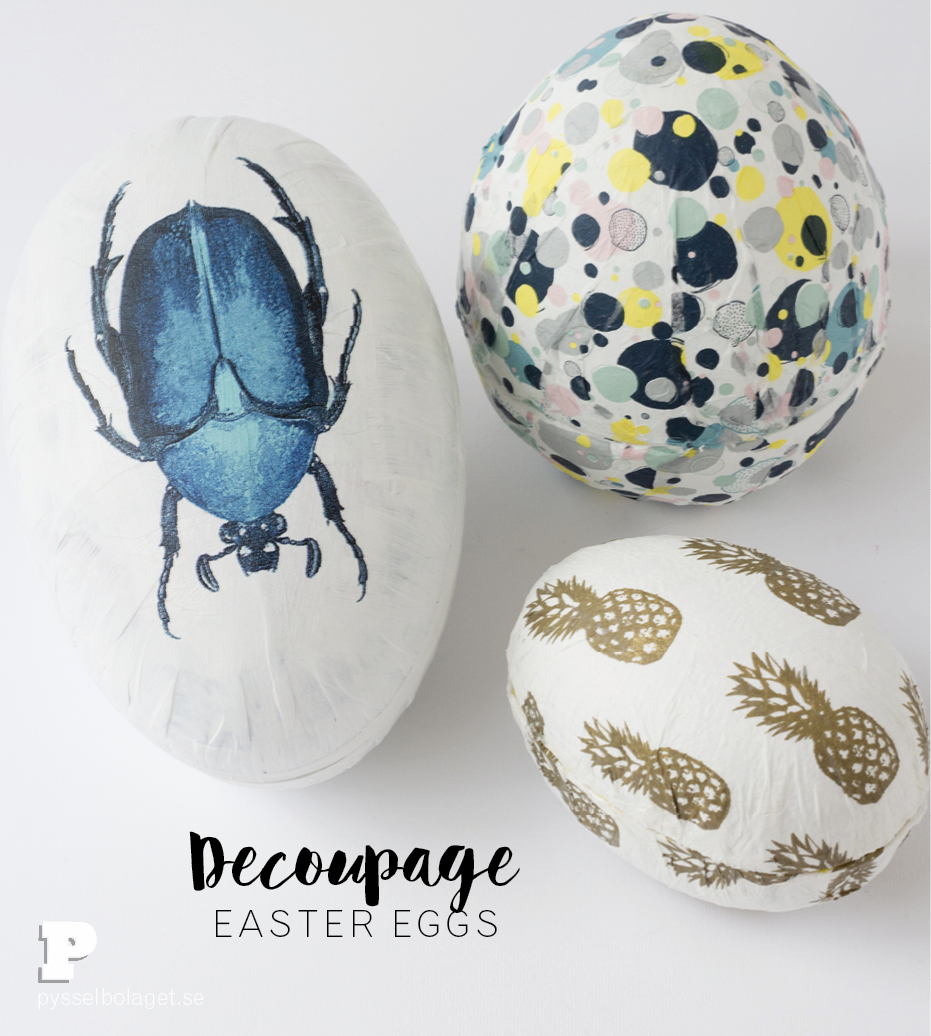
We found we had a box full of bright and childish Easter egg containers we never used. Instead of throwing them away we decided to redo them using fancy napkins and decoupage.
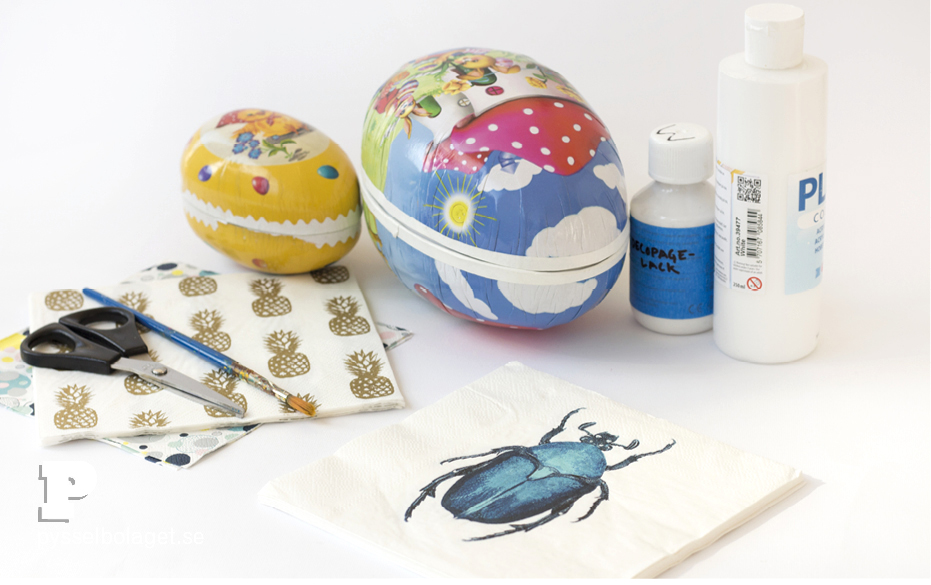
You need easter egg containers, fancy napkins, scissors, decoupage, acrylic paint and brushes.
Napkins often consist of several layers. These beautiful napkins are from H & M Home.
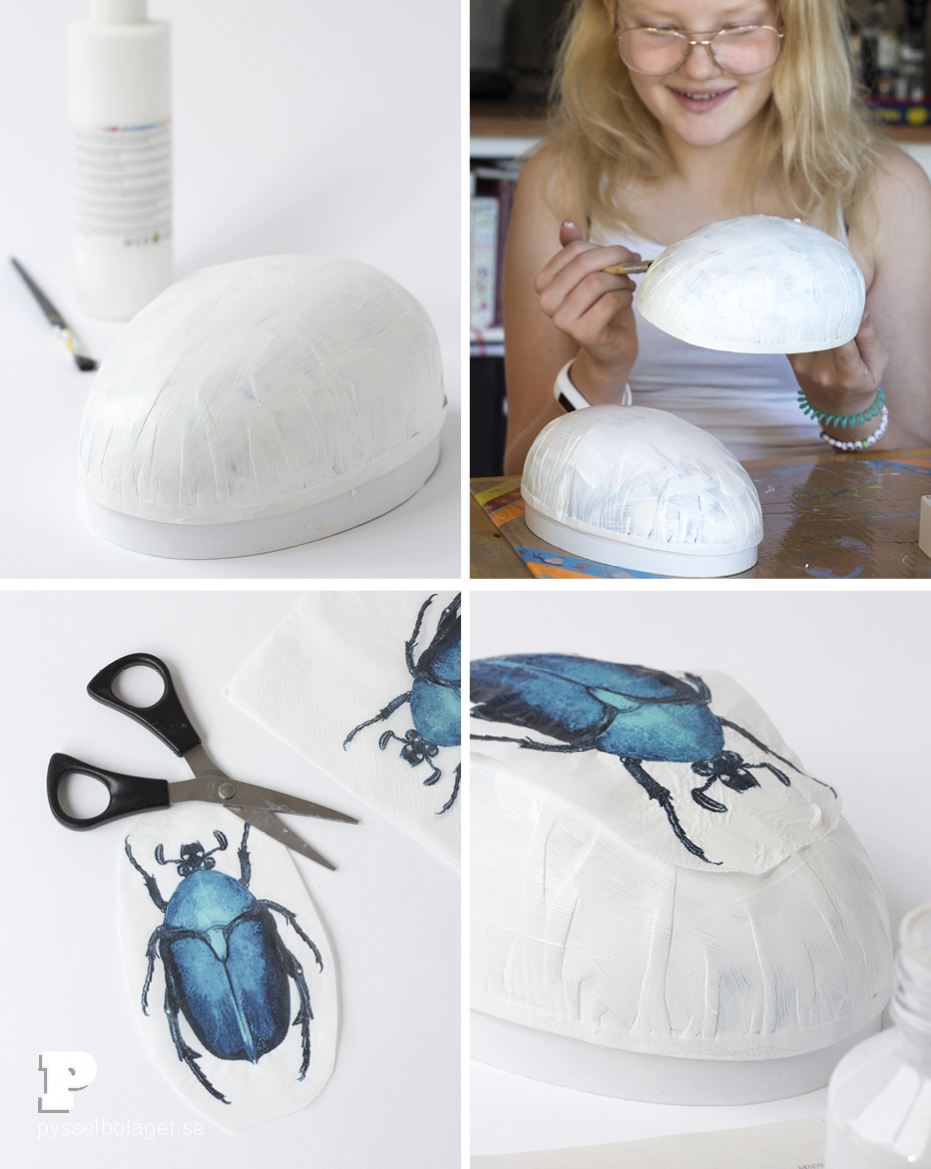
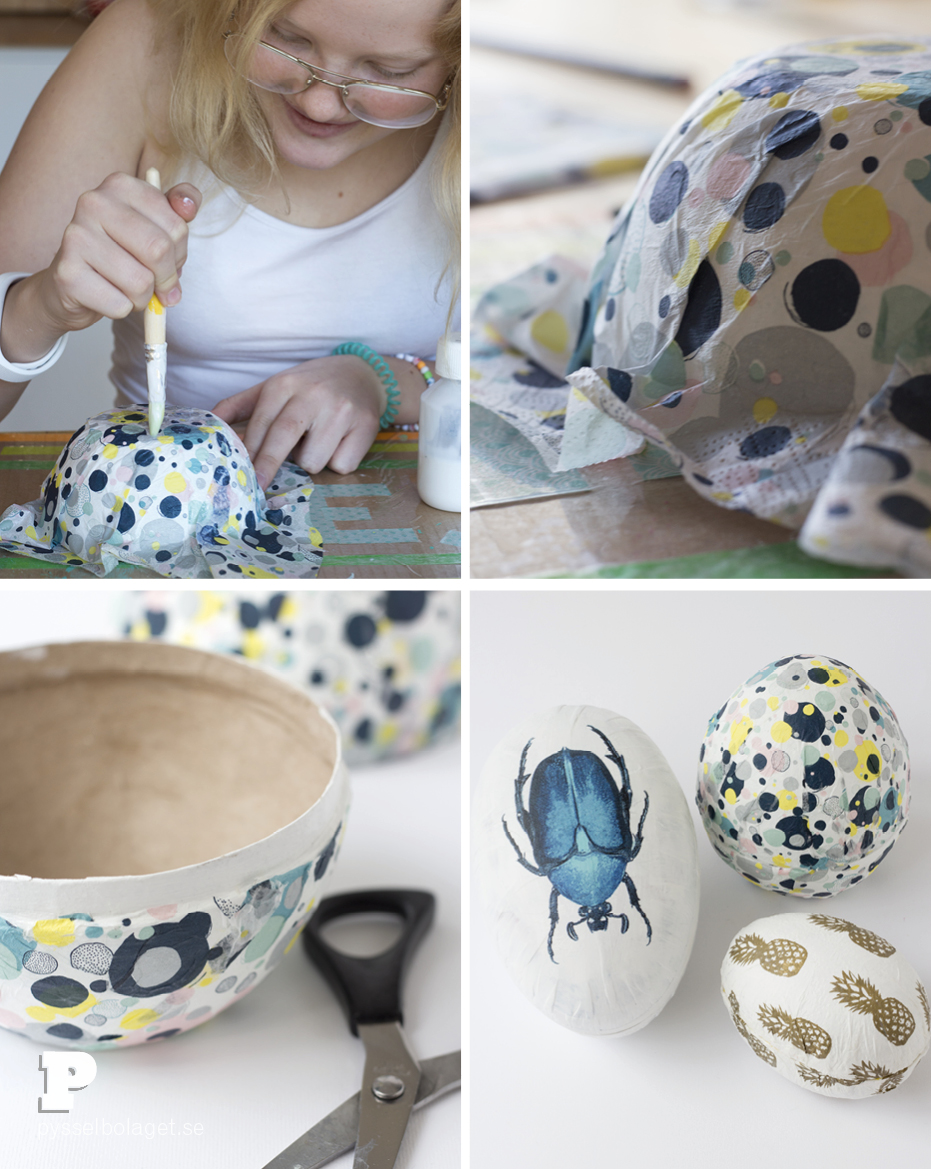
Separate the layers of the napkin and save only the top layer. Remember the layer is fragile because it’s so thin. If you’ve never done decoupage before, it’s best to start with a small piece. We want the printed beetle for our egg and we cut it our leaving a rim of white around it.
Put one coat of decoupage on the egg and gently press on the napkin motif. Gently add another coat of decoupage on to the napkin. Remember to be gentle. Napkin The napkin is even more fragile when wet.
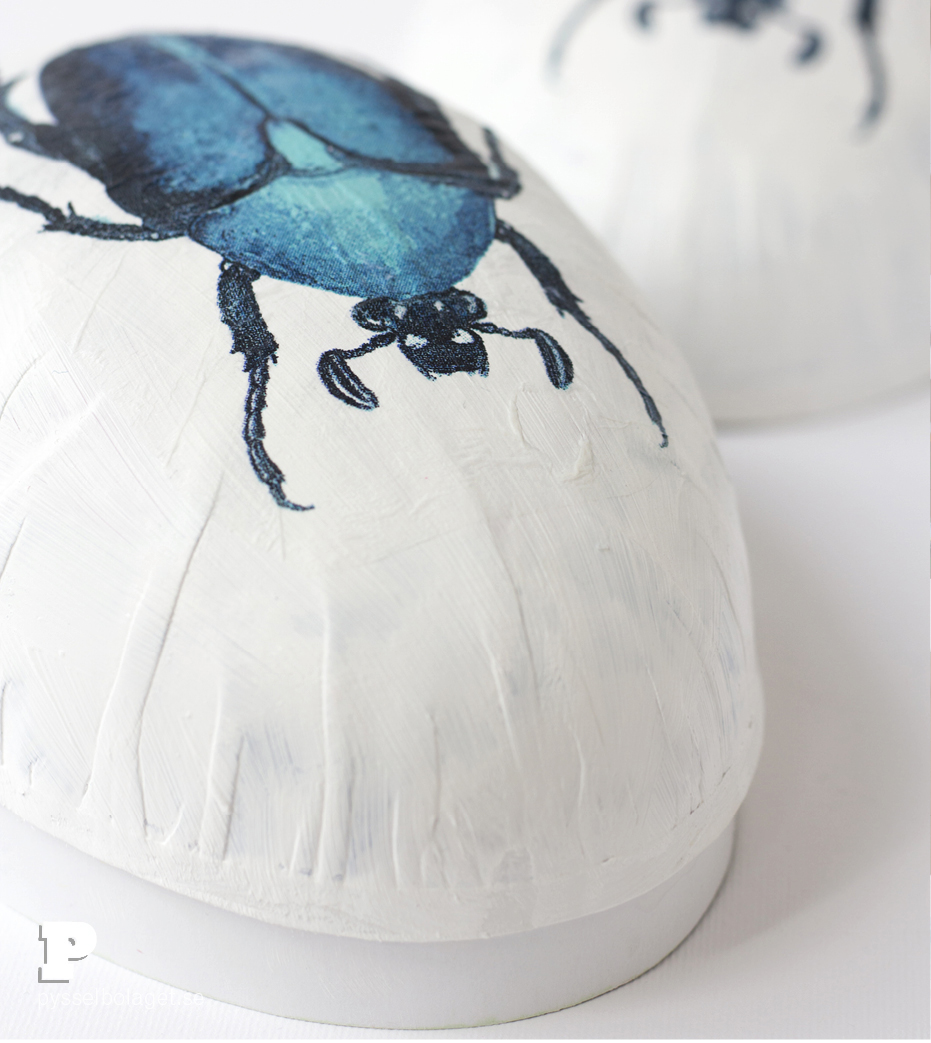
Because the napkin is so thin you can barely see the edge of the napkin! Let the decoupage dry.
You can also cover the eggs with whole napkins. It is more complicated but it can look amazing. Trim the excess napkin around the rim of the egg once the decoupage has dried.
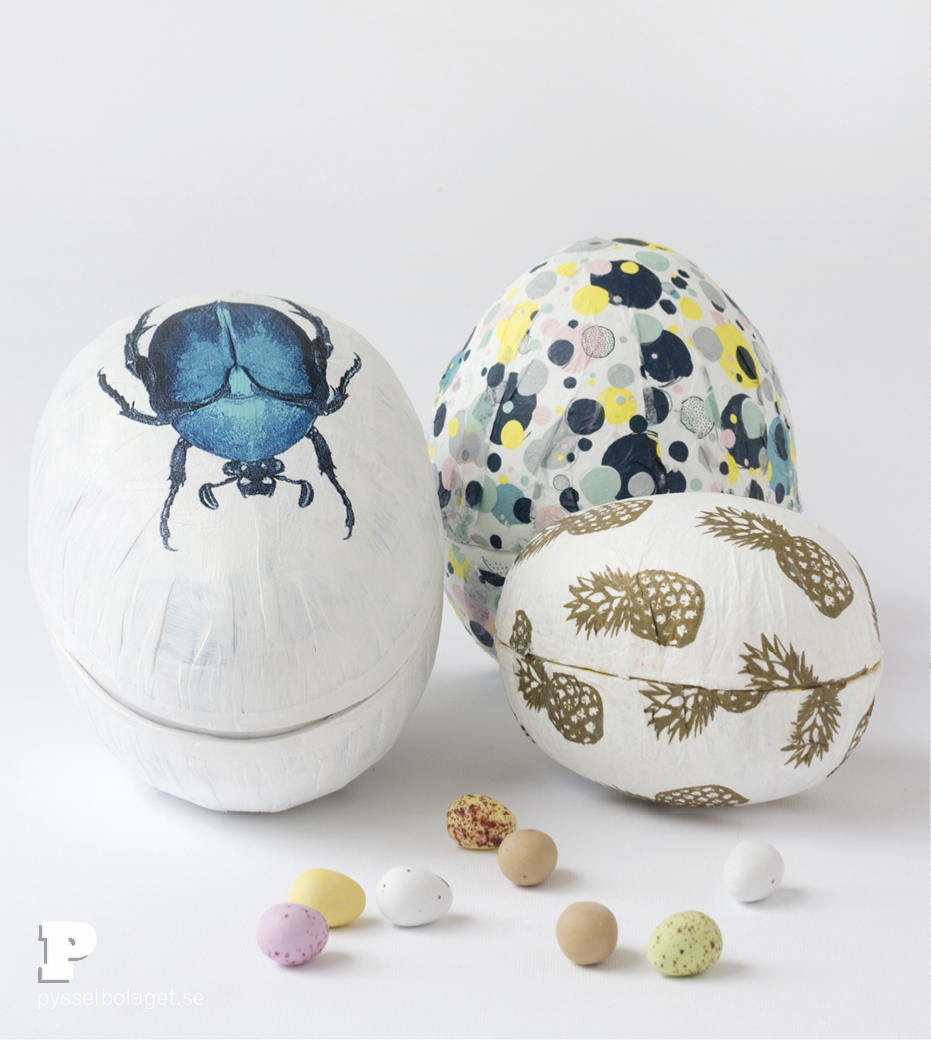
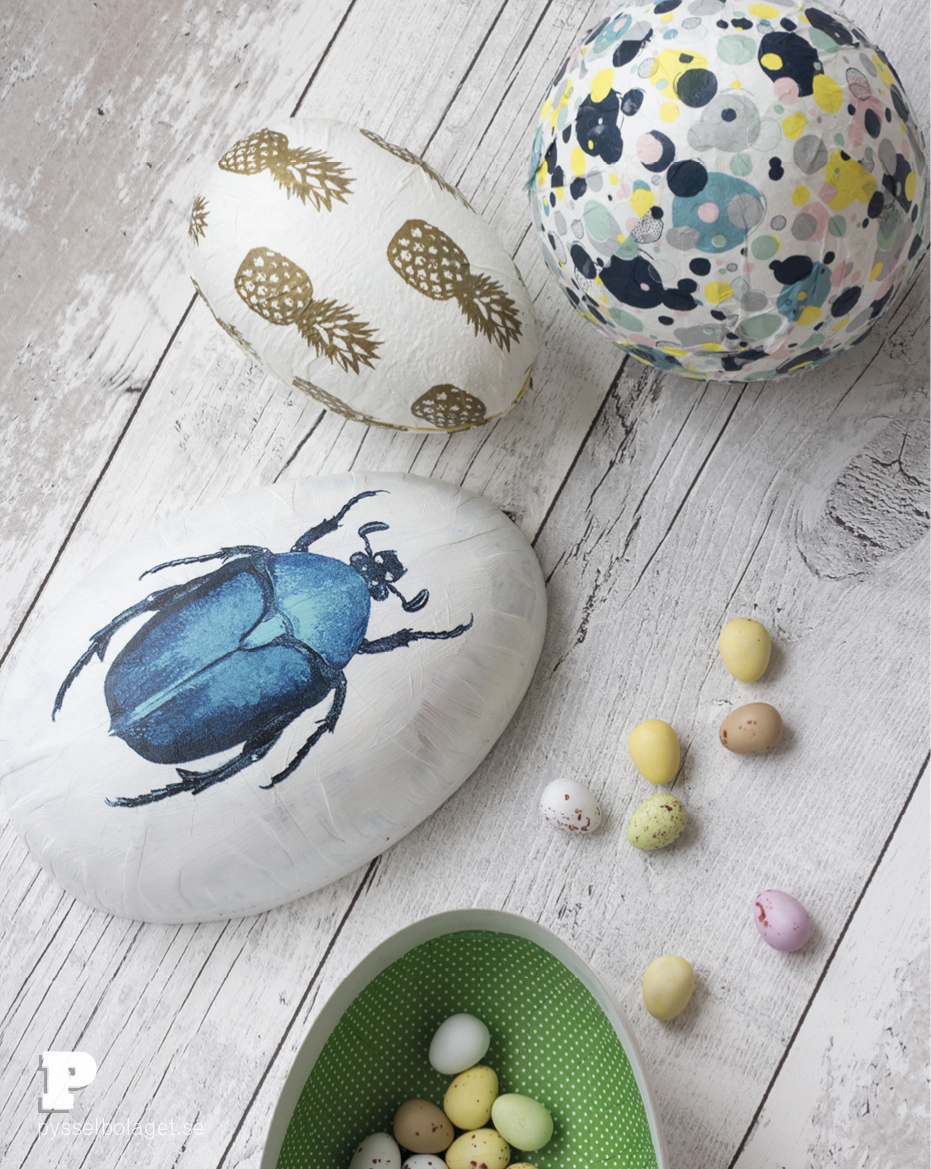
Our easter egg containers got a completely new look and we’re very happy with how they turned out. The napkins are from H&M Home and Ikea.
No Comments